Learn how to grow your own cut flowers with our expert gardening guide and fill your home with beautiful blooms over summer.
Why grow your own cut flowers?
Growing my own flowers was an idea that started in a supermarket, three summers ago. Gazing at the flower buckets by the entrance, I felt torn. Flowers make me happy – but if I wanted one mixed bouquet a week on the kitchen table, I’d be shelling out £40 a month. Looking more closely at the flowers, I wasn’t that impressed, either – the lilies had been flown in from Africa, the stocks were squashed in their plastic wrapping and the roses looked almost industrial in their uniformity.
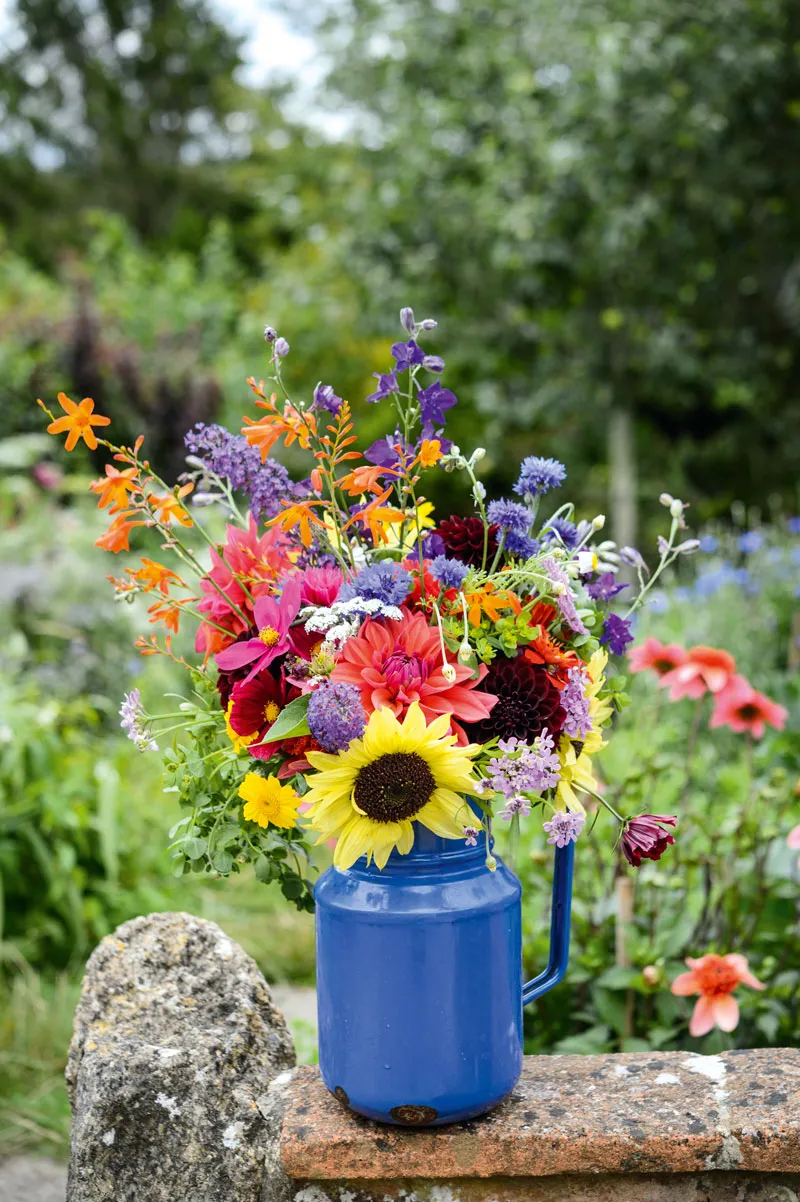
So I walked past the cut-flowers and, realising there was still time to start growing my own that summer, went home, dug the turf from a 3m x 4m chunk of our garden – and got planting.
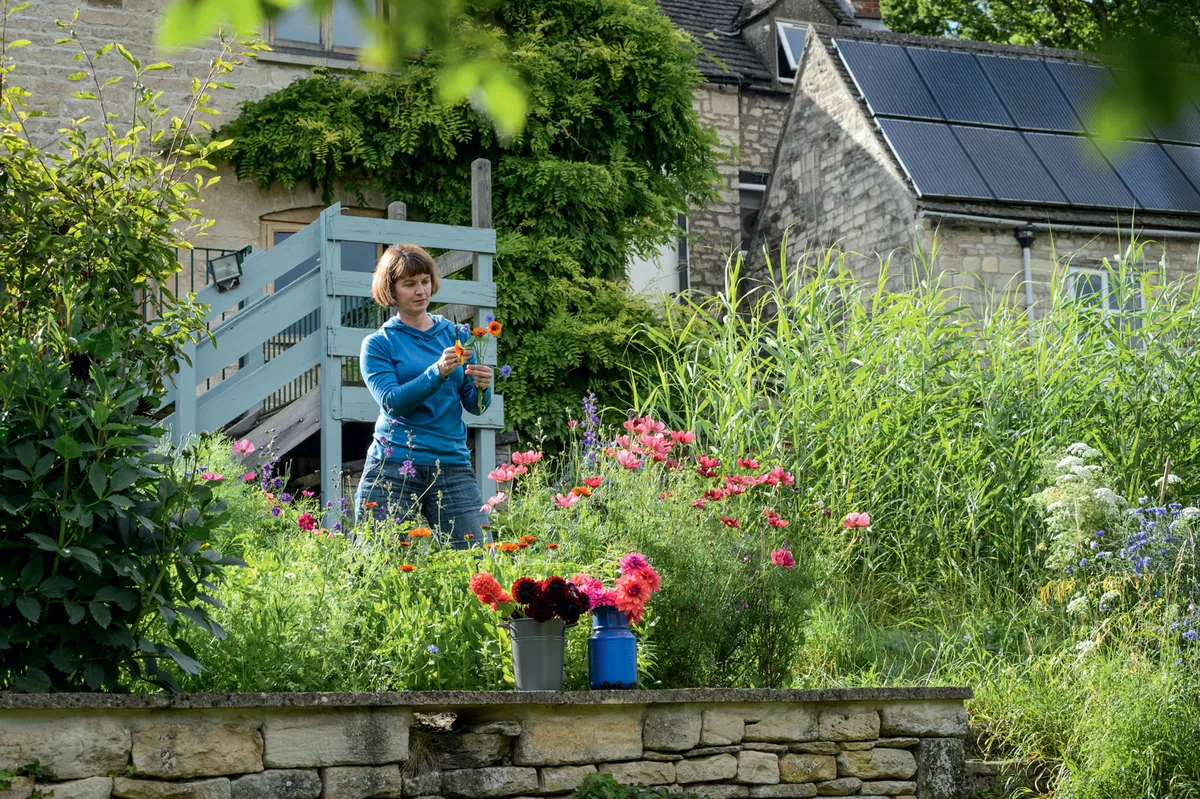
I didn’t want an idyllic cottage garden border; I wanted flowers to cut for the house – and buckets of them. Minus any gardening knowledge, but with the help of a niftily pre-designed planting plan and a tin of seeds, I managed to raise my own tiny, delicate plants for the first time ever.
There were some failures. My sweetpeas were weedily unproductive, about 20% of my other seedlings died early on, and the slugs munched on my just-emerging dahlias. Nevertheless, by late July, to my astonishment and delight, every flat surface in the house was adorned with blooms – electric blue cornflowers, glowing golden marigolds, purple salvia and, yes, lots of cosmos, all stuffed in jugs, cafetières and teapots (I own precisely one vase).
Expert knowledge
The next summer I winged it, creating my own design, and apart from the ever-reliable dahlias, the results were not quite so good. So, determined to learn how make a better fist of things, I headed off in October to Common Farm Flowers in Somerset to learn from Georgie, who is a font of flower-growing knowledge – and wickedly funny, too.
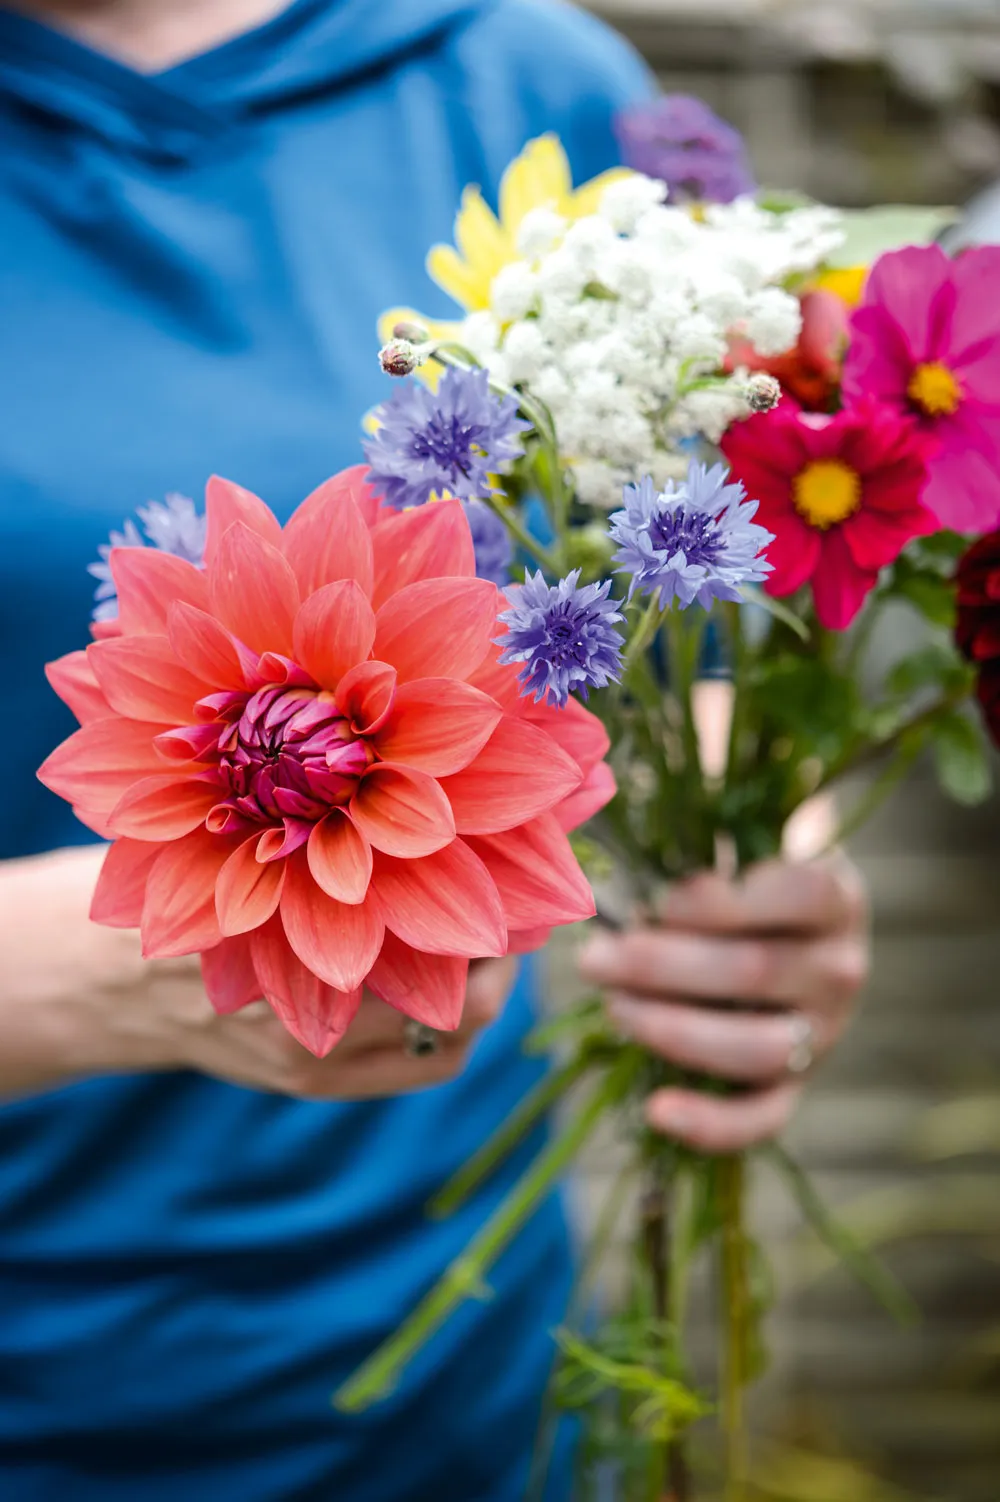
Georgie emphasises getting your soil properly fed with nutrients before putting your plants in: well-rotted horse manure was one suggestion. After that, well-planned succession planting ensures flowers until late September. This means growing seedlings indoors in autumn for planting the following spring, then raising more in May and a third wave in early summer. I ended up directly sowing in a “let’s-fill-the-gaps-where-stuff-has-died” panic from late May to mid-June – but it worked.
Getting your garden ready
You don’t need a huge patch to grow a decent selection of flowers. In a single raised bed of 4m x 1.5m, I managed to plant borage, with its delicate star-shaped blue flowers; frothy white ammi; bright and cheerful zinnias; silky cosmos; luminously purple larkspur; glowing-orange California poppies; chives with their pom-pom flowerheads; lemon balm for its scented leaves; and foxgloves from plants transplanted (not altogether successfully) from a neighbour’s garden. I used another raised bed for sunflowers, more cosmos, headily scented mauve sweetpeas and three new dahlias. Later in May, I used my original 4m x 3m plot for planting out more seedlings.
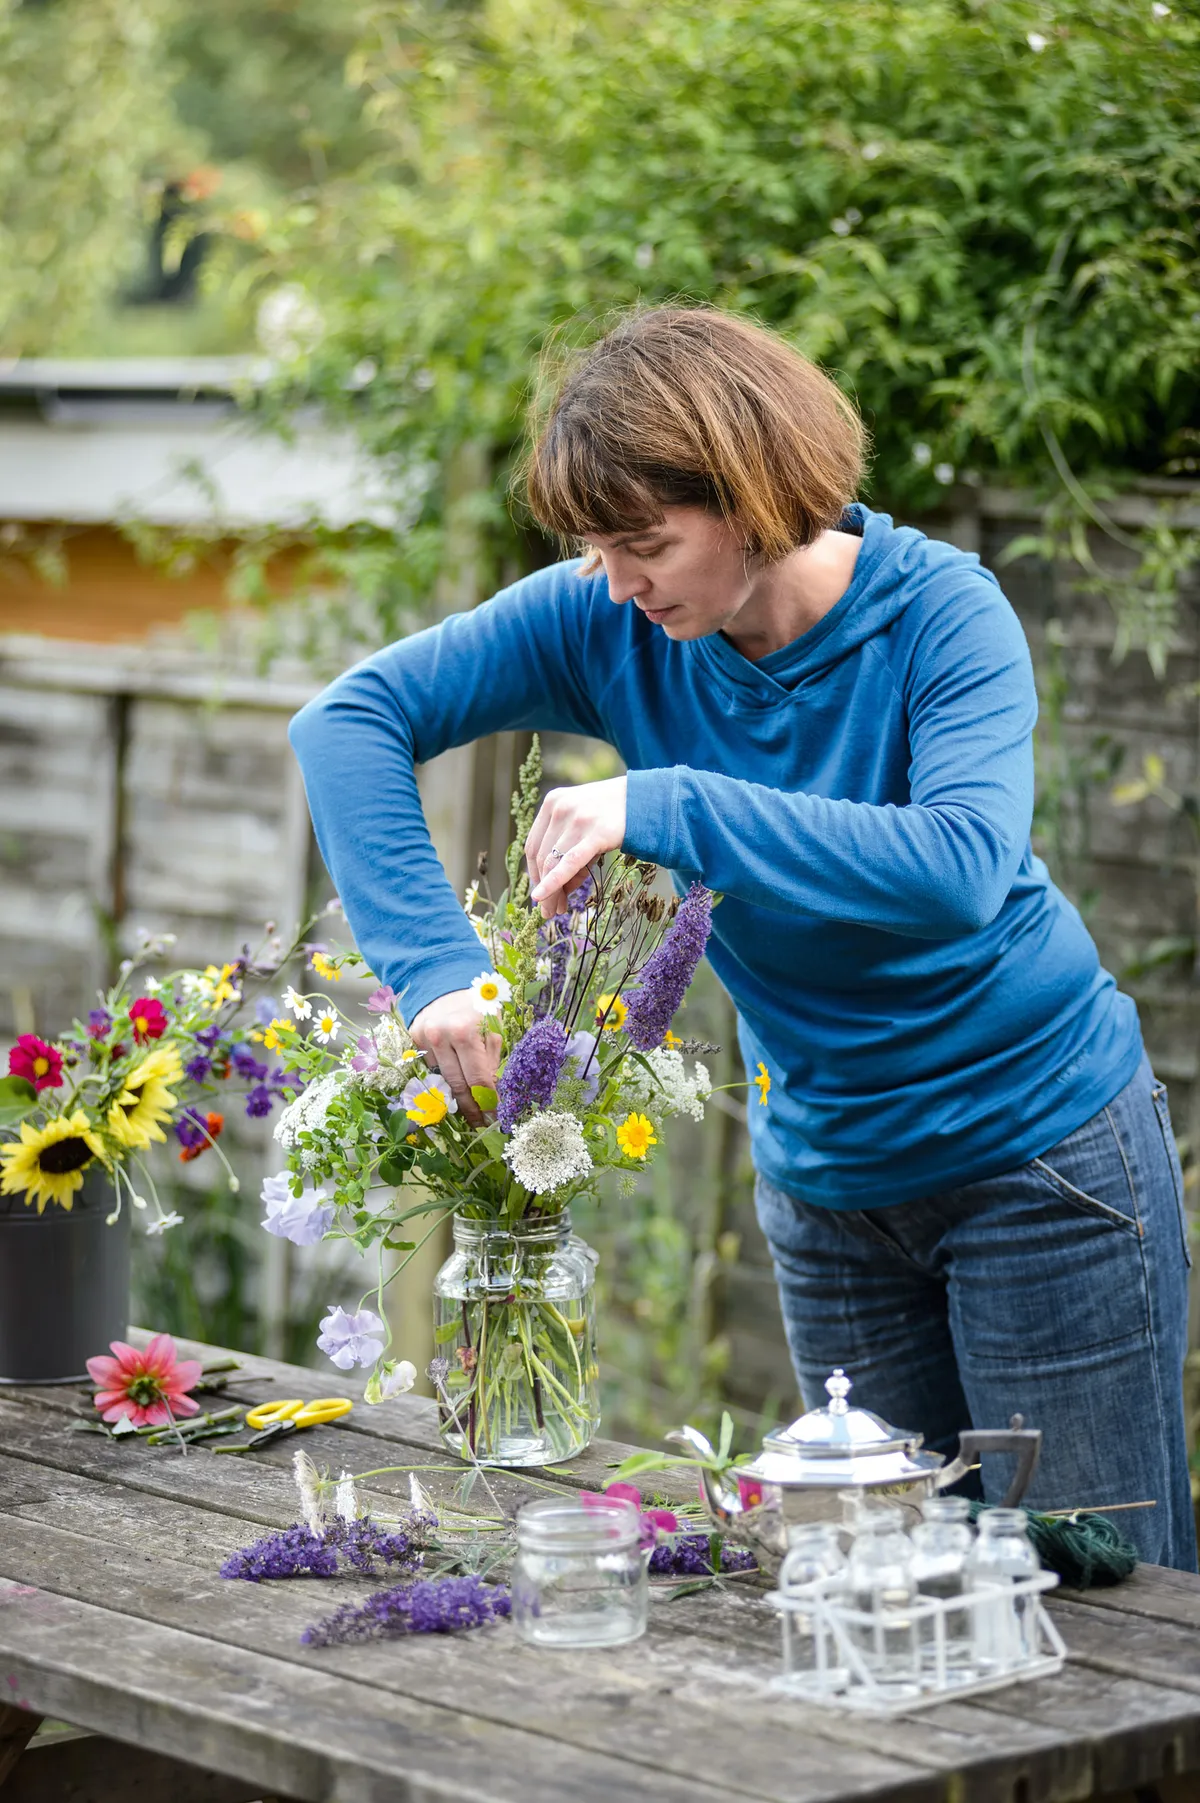
Planting seeds is certainly cheaper than buying small plants, but you will need to use all available windowsills and be prepared to put in a few minutes of gentle watering every couple of days. Of course, it takes time, but Georgie has a “just do 20 minutes” rule that makes starting this type of project less daunting.
I’m lazy: I don’t prick out and pot on my seedlings into bigger containers. They just have to manage. I’m sure I lose some, but most seem to do all right. I did draw up a planting plan, but it got adapted through the season as some seeds didn’t germinate and others didn’t thrive. And because I love the blowsy, natural look of wildflowers, I sprinkled one whole quadrant of my big bed with a meadow-seed mix I bought online and hoped for the best. The resulting tangle of poppies, cornflowers, corncockle, wild chamomile and corn marigolds is now probably my favourite section of the cutting patch.
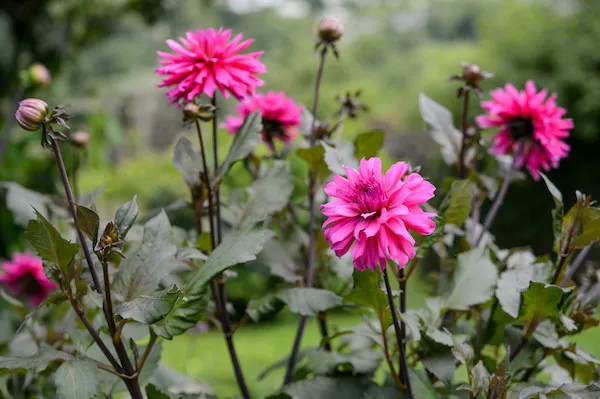
As flowers have emerged in the rest of the patch, the garden has been alive with bees, and the variety of form and colour has provided a stunning display to enjoy from our kitchen window. I’ve cut ferociously, and the flowers have kept coming, so I have been able to experiment with combinations of colours. I’ve given away countless bouquets to friends, and the oohs and aahs of admiration have
been a lovely bonus.
Conclusion: give it a go!
My conclusion? If I can grow flowers, anyone can. I don’t even know what kind of soil I’ve got, apart from it being stony and weedy.
My philosophy: buy some seed, plant it in a seed tray and sprinkle a bit of compost on top, water it regularly without drenching, then ideally feed the ground before planting out, and let the flowers get on with it. Mostly they do. And then you can sit and beam at your cleverness while beholding a vase stuffed with just-cut blooms that have never seen the inside of an aeroplane or been touched by a drop of chemical preservative, and are vastly more beautiful than anything you’d be able to pick up at the supermarket.
How to grow cut flowers
Planting plan
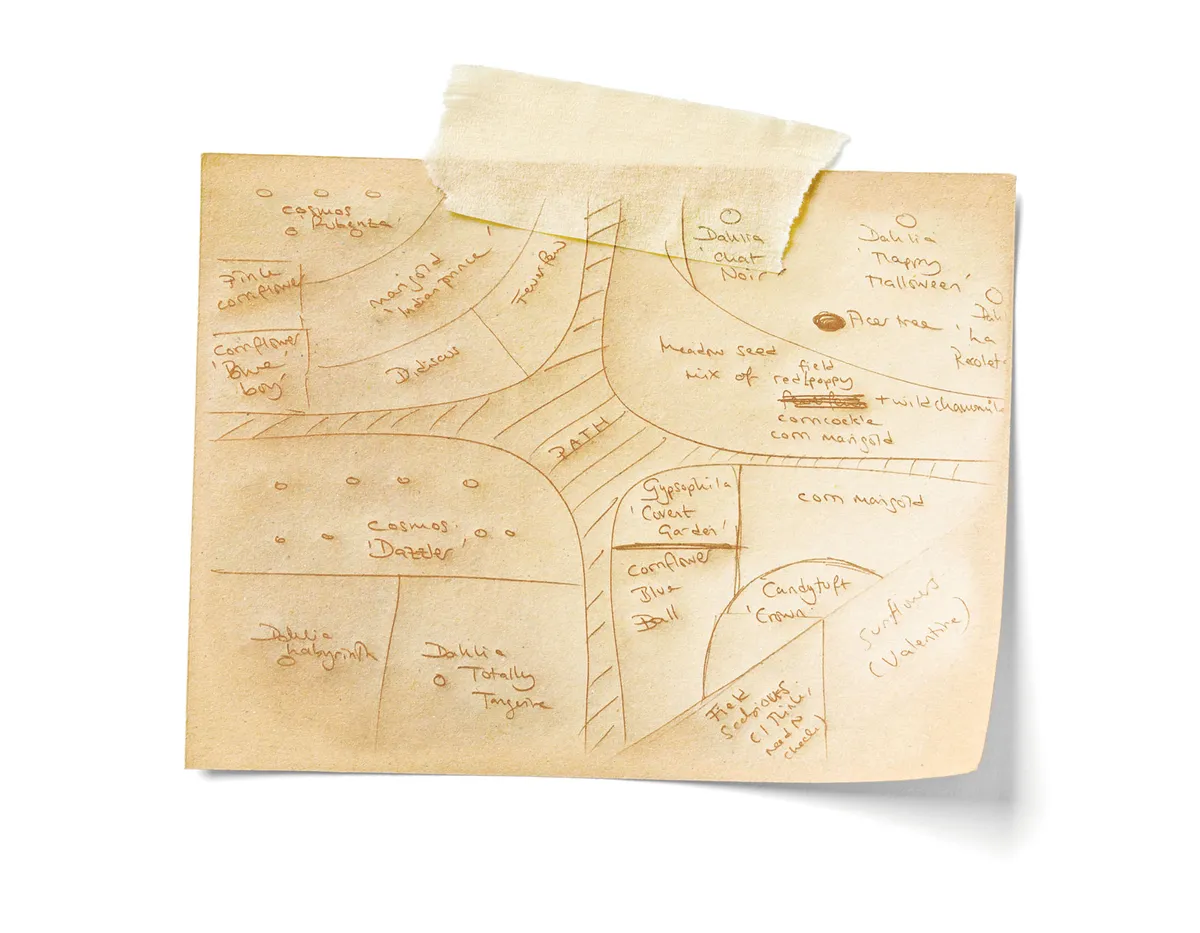
My bed measures 4m by 3m. I tend to plant in clumps or lines to make the flowers easy to cut. This isn’t a cottage garden, so what you don’t want is different varieties all mixed up. It doesn’t matter what colours you plant next to each other – it will look beautiful when the flowers are blooming.
Caring for your plants
Weeding is a pain but you have to do it. I do my most enthusiastic weeding at the start so that my seedlings don’t get overwhelmed. Unless it has rained, I water everything, morning and night. This is the biggest investment of time. I sprinkle bird-friendly slug pellets liberally: I’m not growing a midnight feast for gastropods. Supports for your plants are essential, or they’ll blow over. Bamboo canes are cheap; rustic wicker supports are pricey. Alternatively, stretch plastic netting between stakes, about 50cm above the ground. The plants grow through the holes. It looks ugly at first, but the plants hide it in the end. Once your plants are flowering, if you cut ruthlessly then deadheading takes far less time than you might think.
The best plants for cutting
Cosmos Cosmos bipinnatus ‘Dazzler’ and ‘Rubenza’
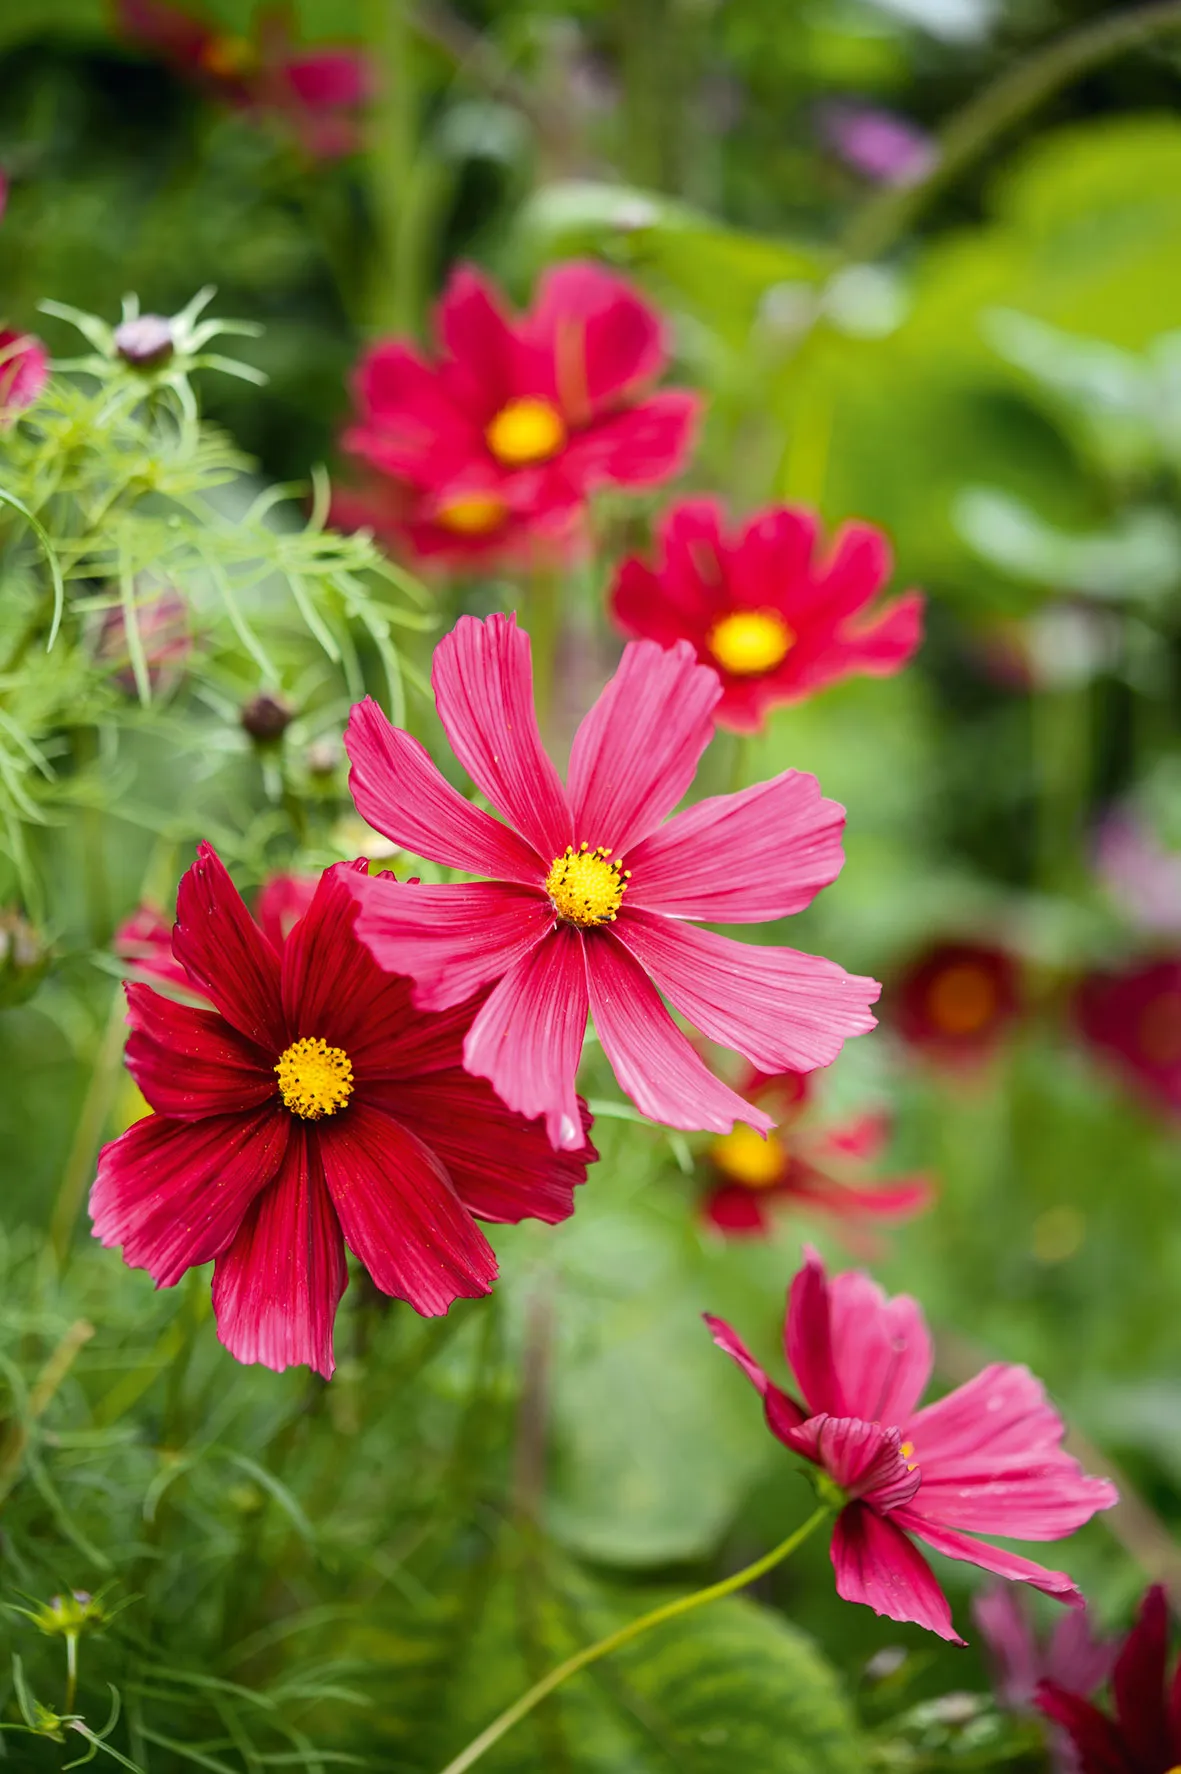
These varieties had fabulous colours (hot pink and dark red respectively), flowered prolifically, and attracted zero interest from any pests. Hurrah!
Cornflower Centaura cynanus ‘Blue Ball’
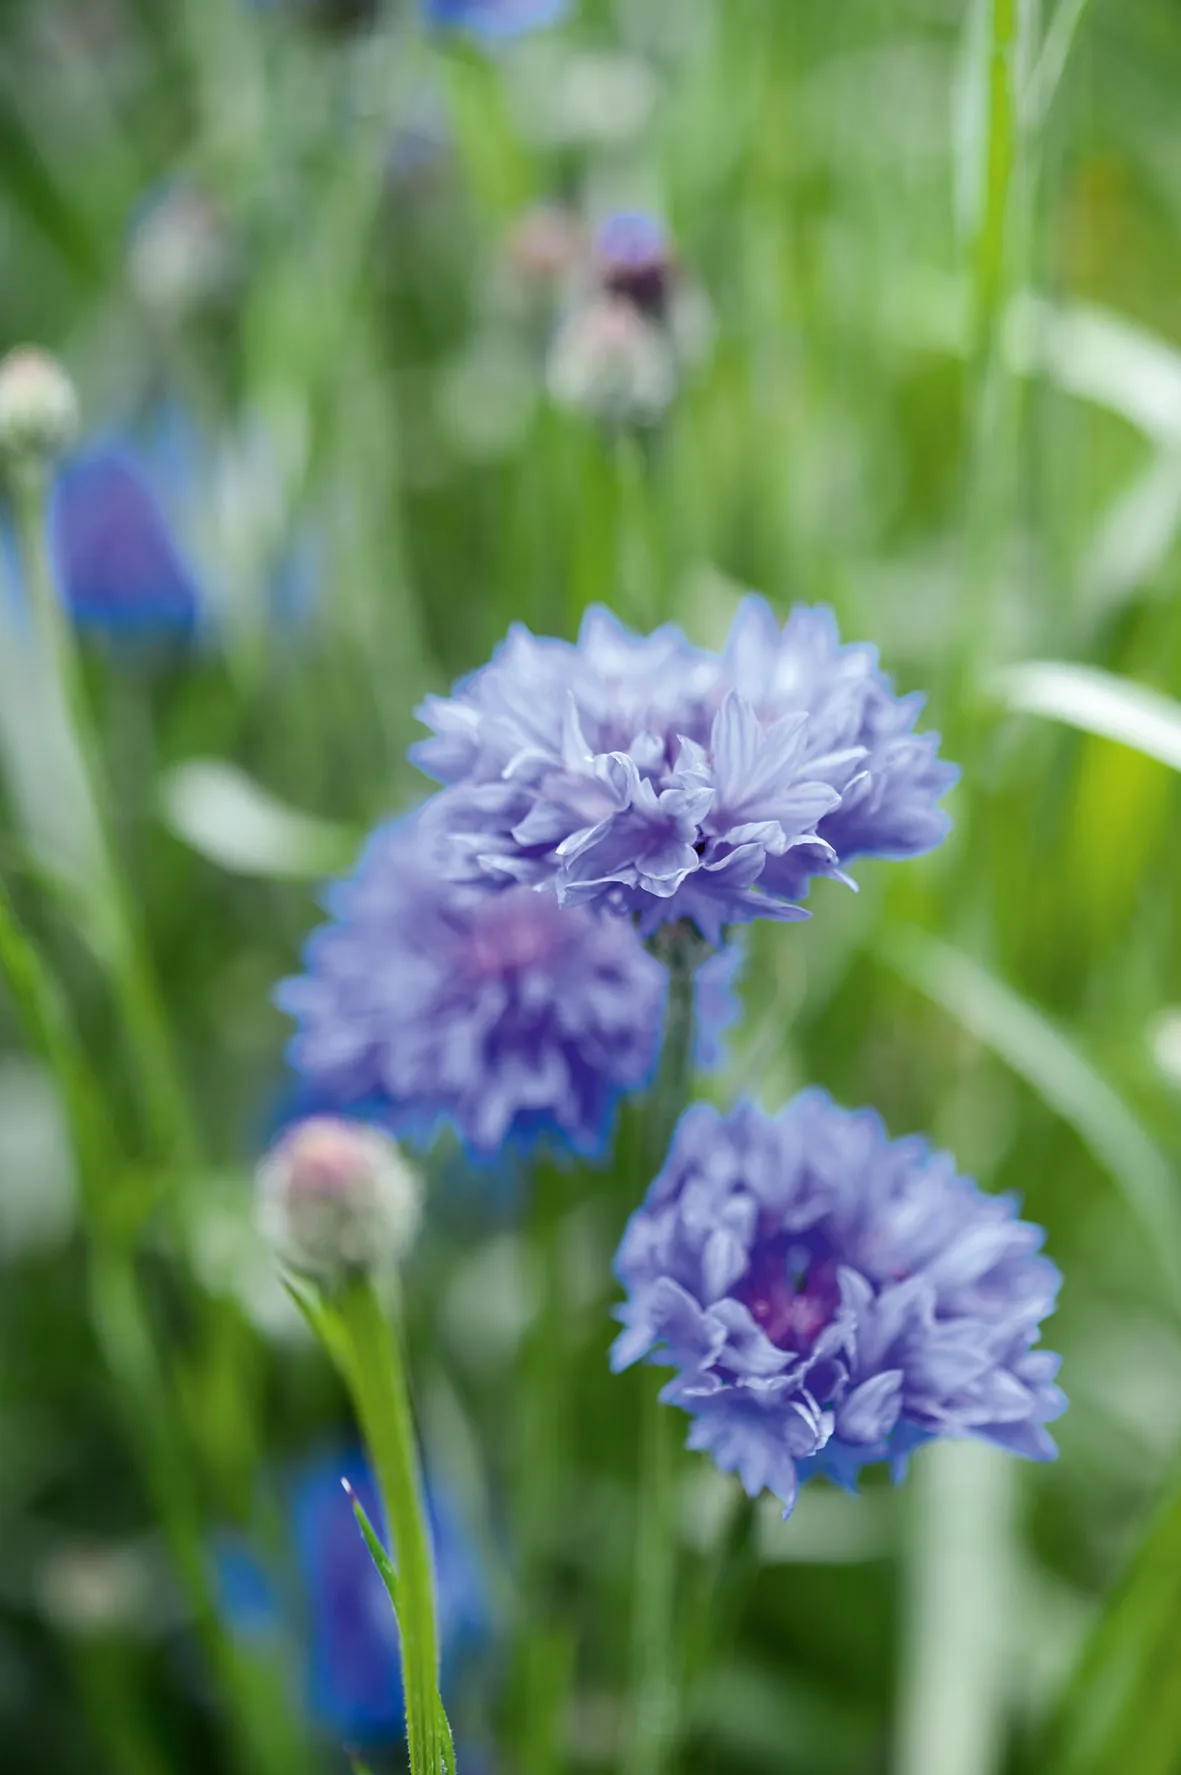
This variety is an eye-catching true-blue cornflower that’s hard to beat. Bees adore it, and it’ll self-seed.
Marigold Calendula officinalis ‘Indian Prince’
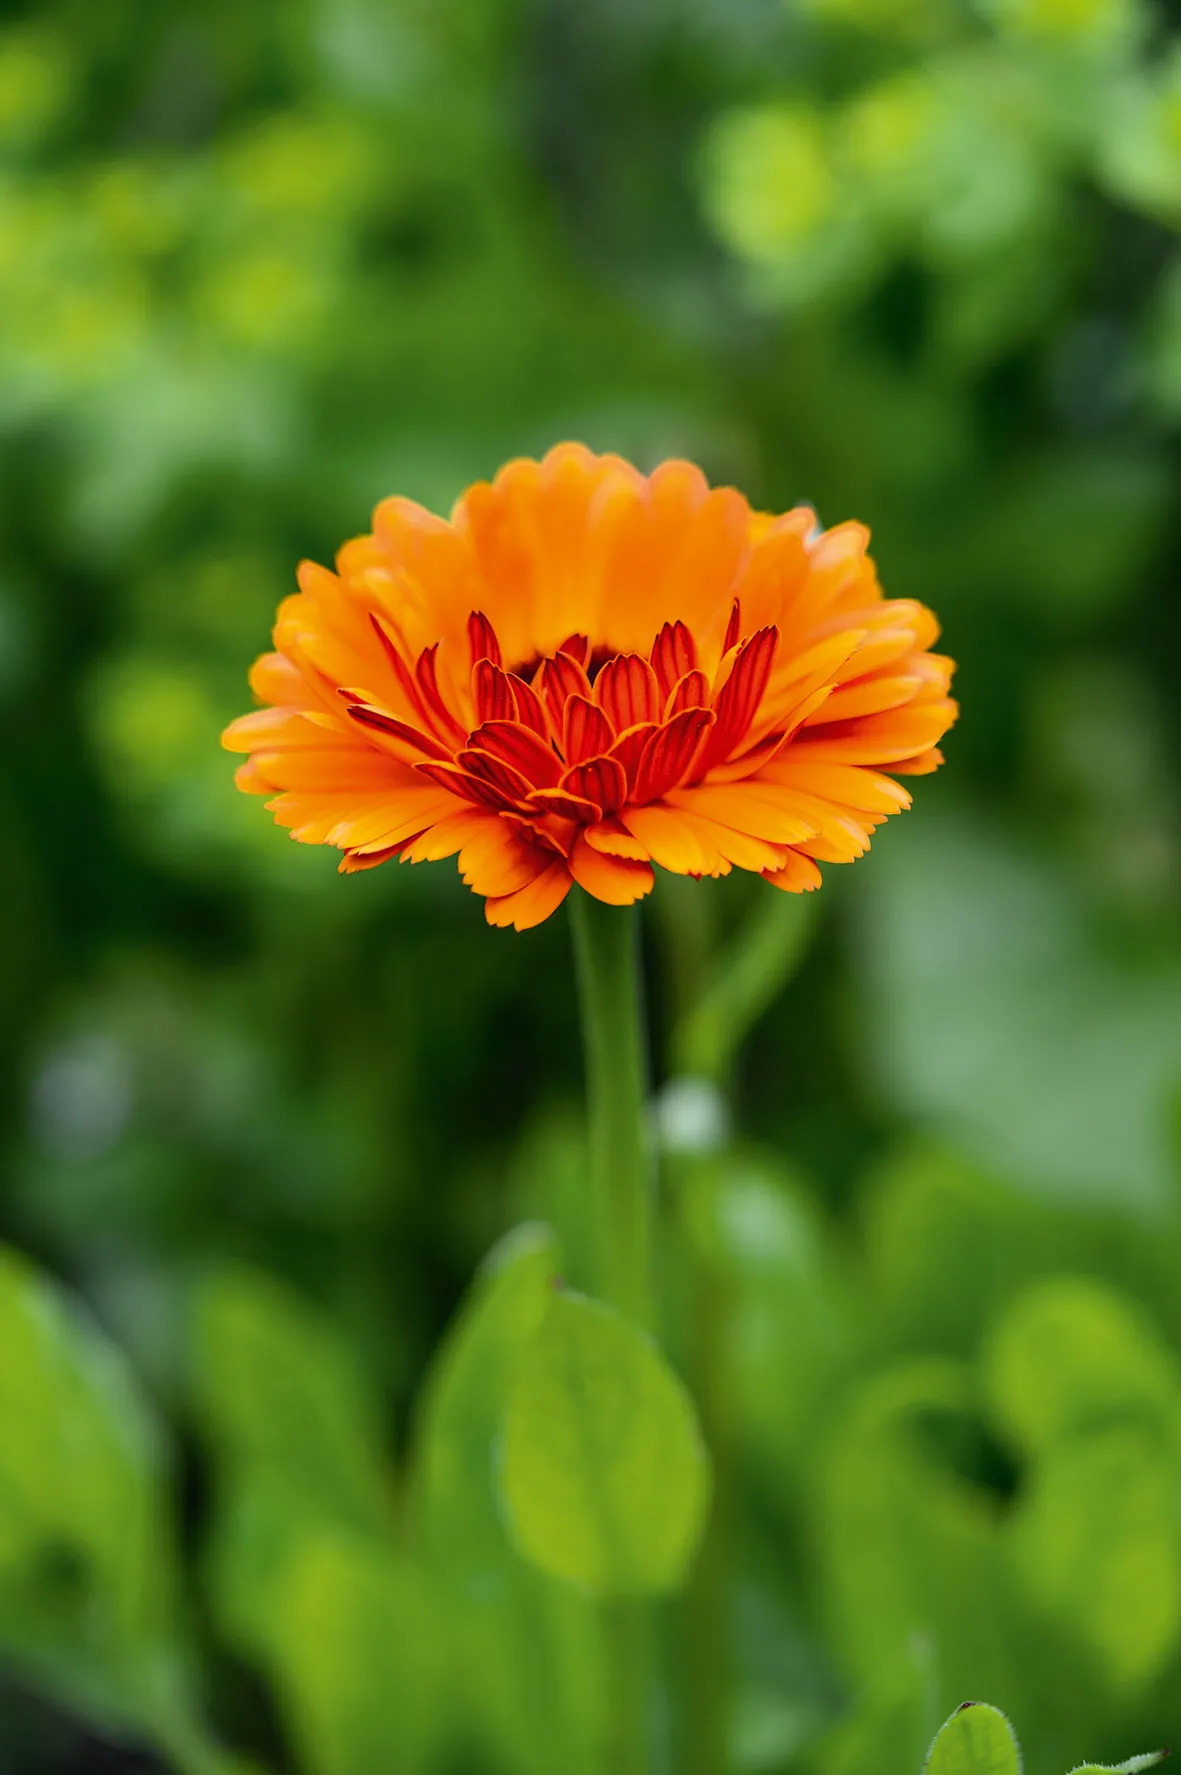
A bright orange variety that I’ll always have in my garden, giving a glowing pop of colour in a bouquet.
Bishop’s flower Ammi majus
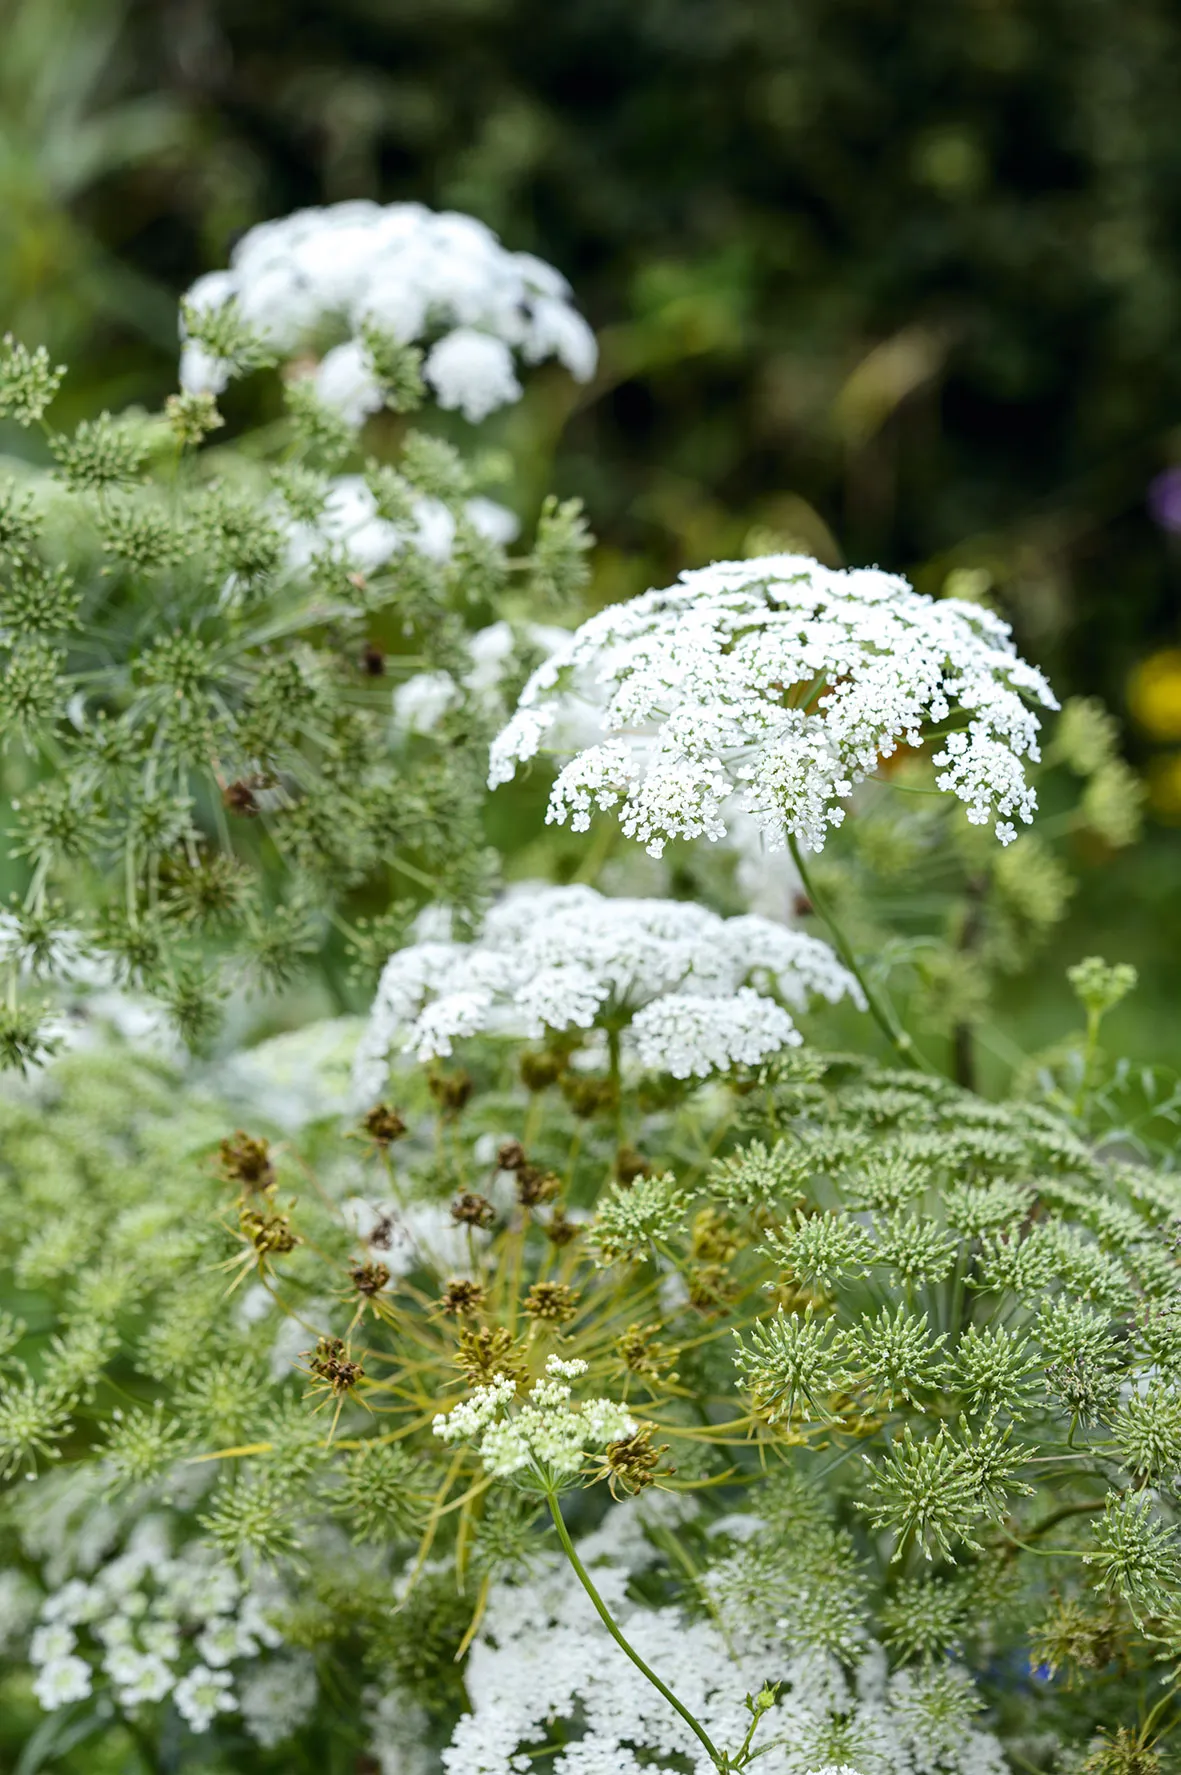
A lacy and frothy “filler” that is also beautiful in its own right.
Dahlia Dahlia ‘Totally Tangerine’
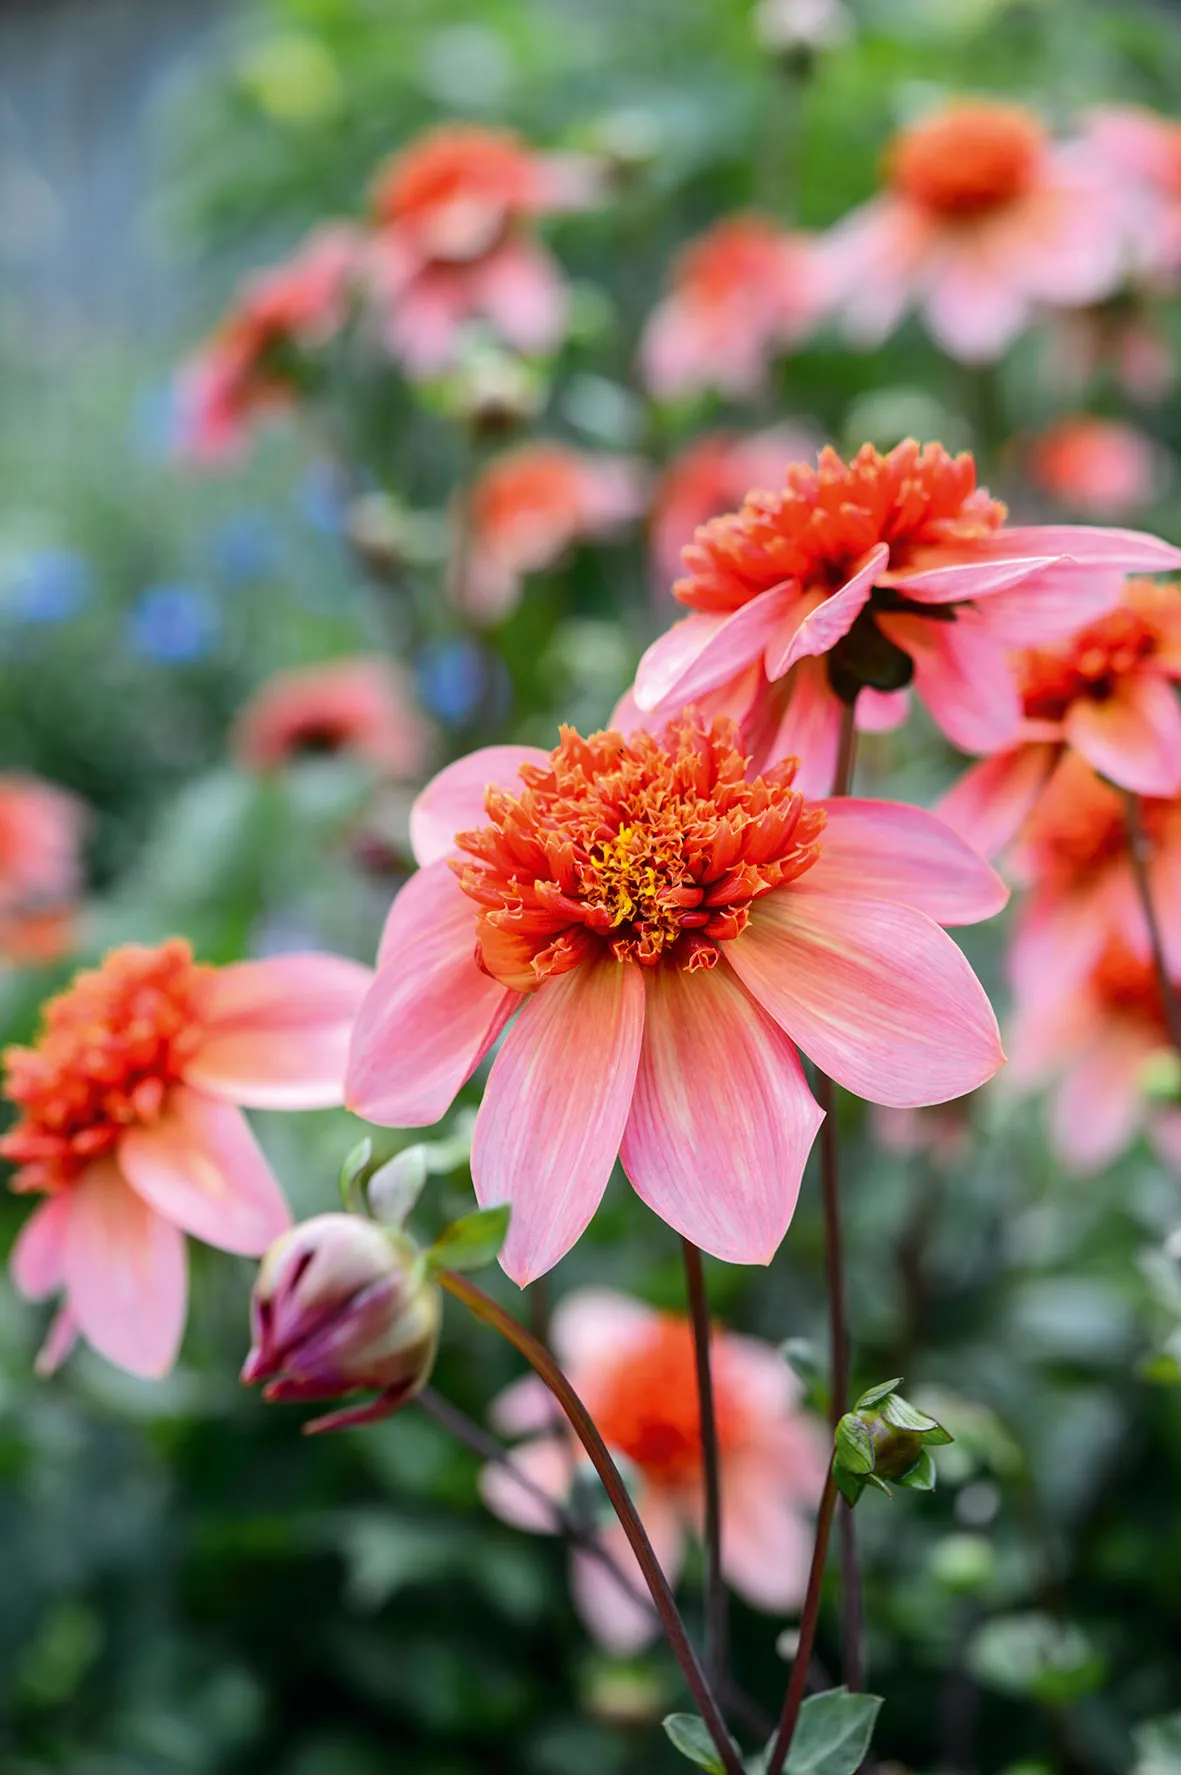
So many varieties to choose from, but this was one of my favourites this year. Others included ‘American Dawn’ (a huge apricot-orange flowerhead with a purply-mauve centre), ‘City of Leiden’ (bright, spiky pink) and ‘Labyrinth’ (a pinky-orange explosion of silky petals – a true showstopper).
Sweetpea Lathyrus odoratus ‘Charlie’s Angel’
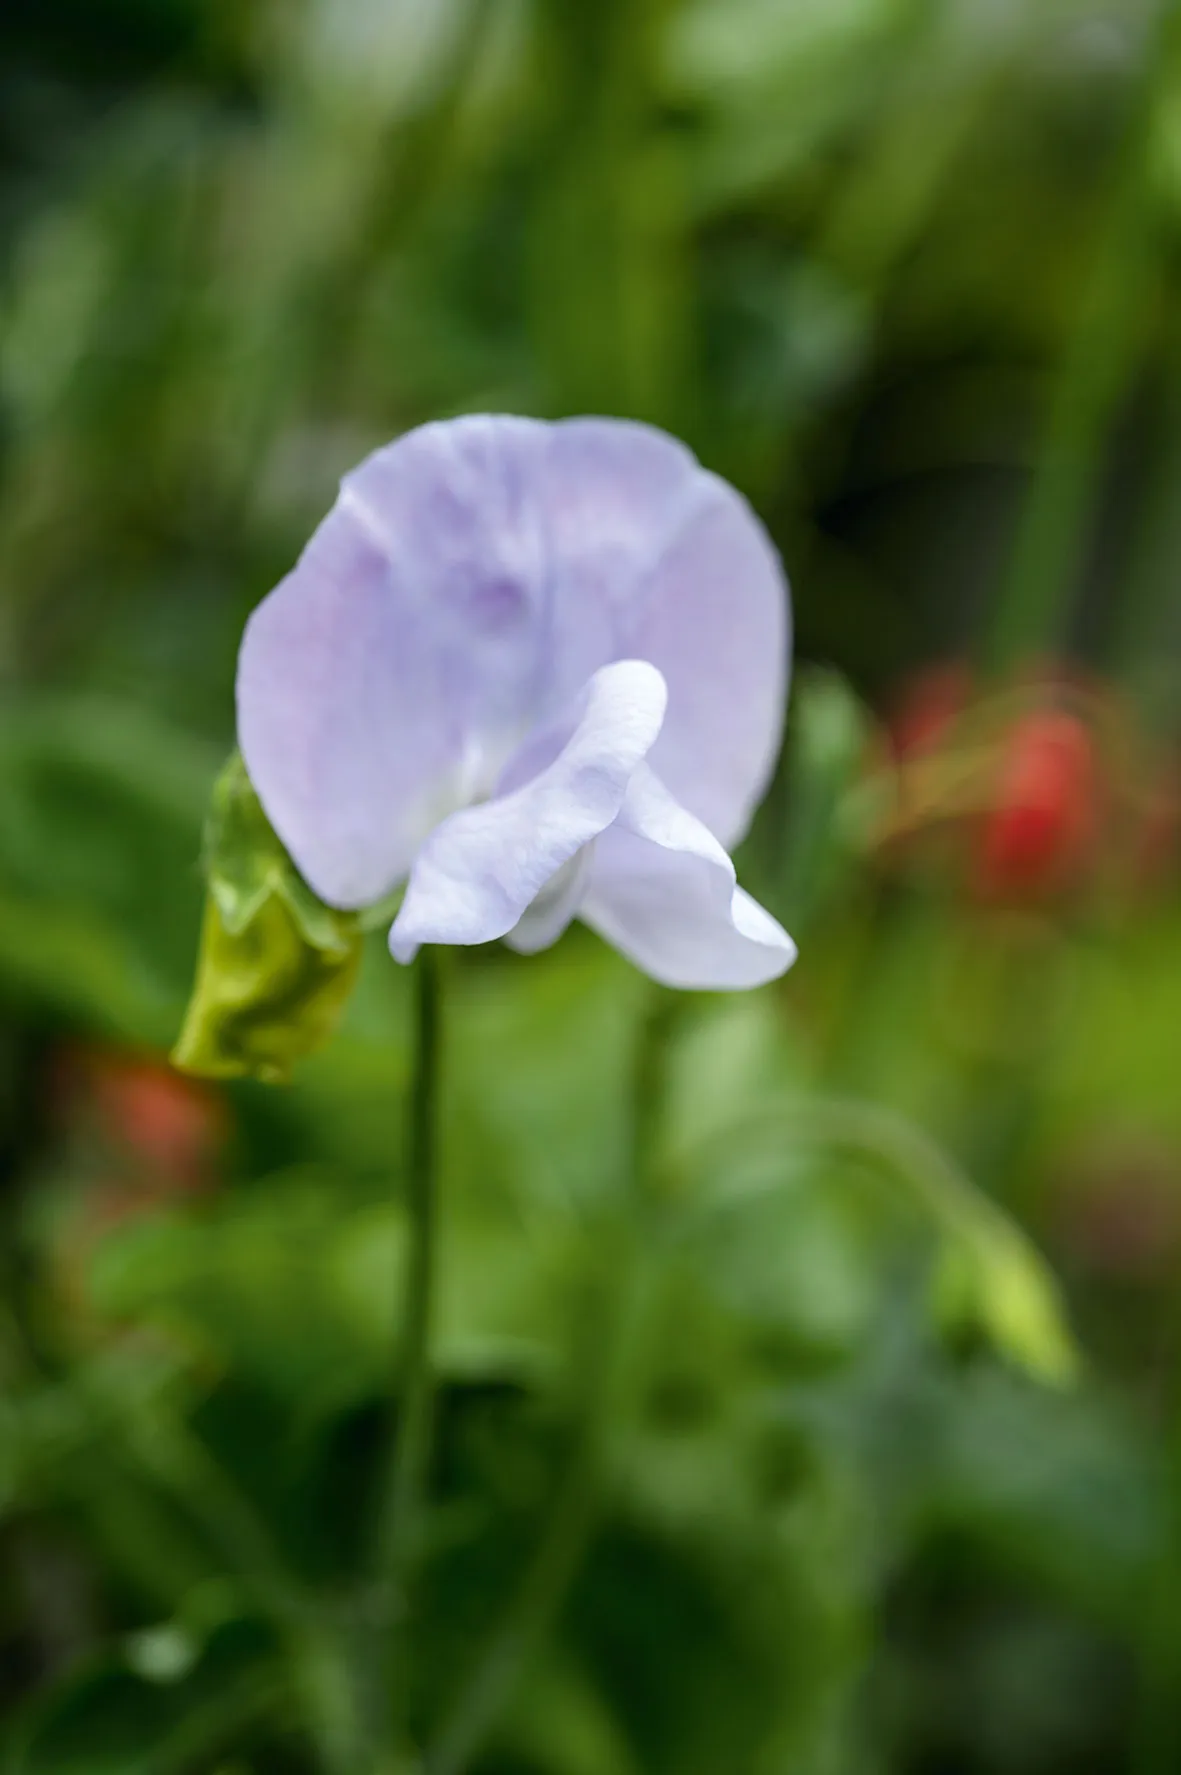
It just keeps flowering, and the scent is both delicate and seductive.
Borage Borago officinalis
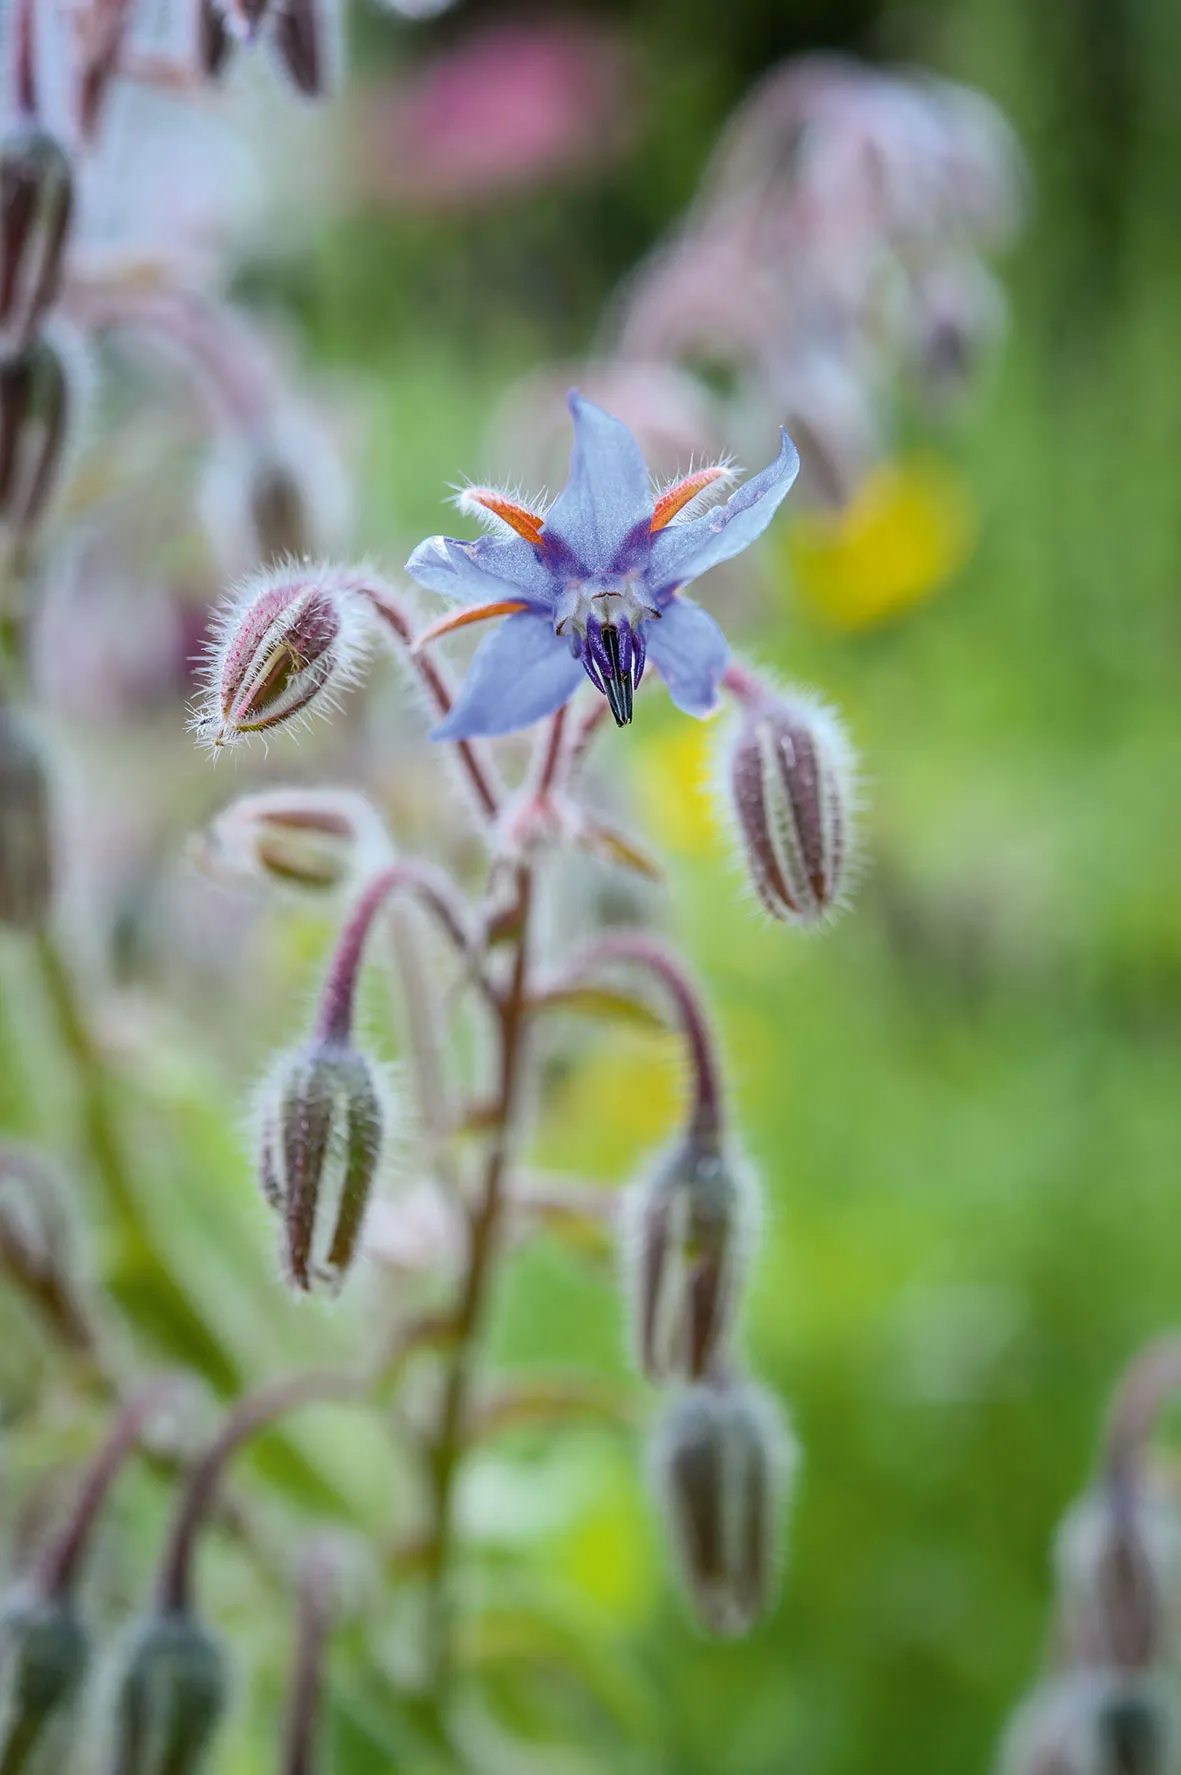
The plant grows huge (you only need a couple or it’ll take over) and its tiny flowers are bee heaven, and create an atmospheric haze of blue in a vase.
Dahlia Dahlia ‘La Recoleta’
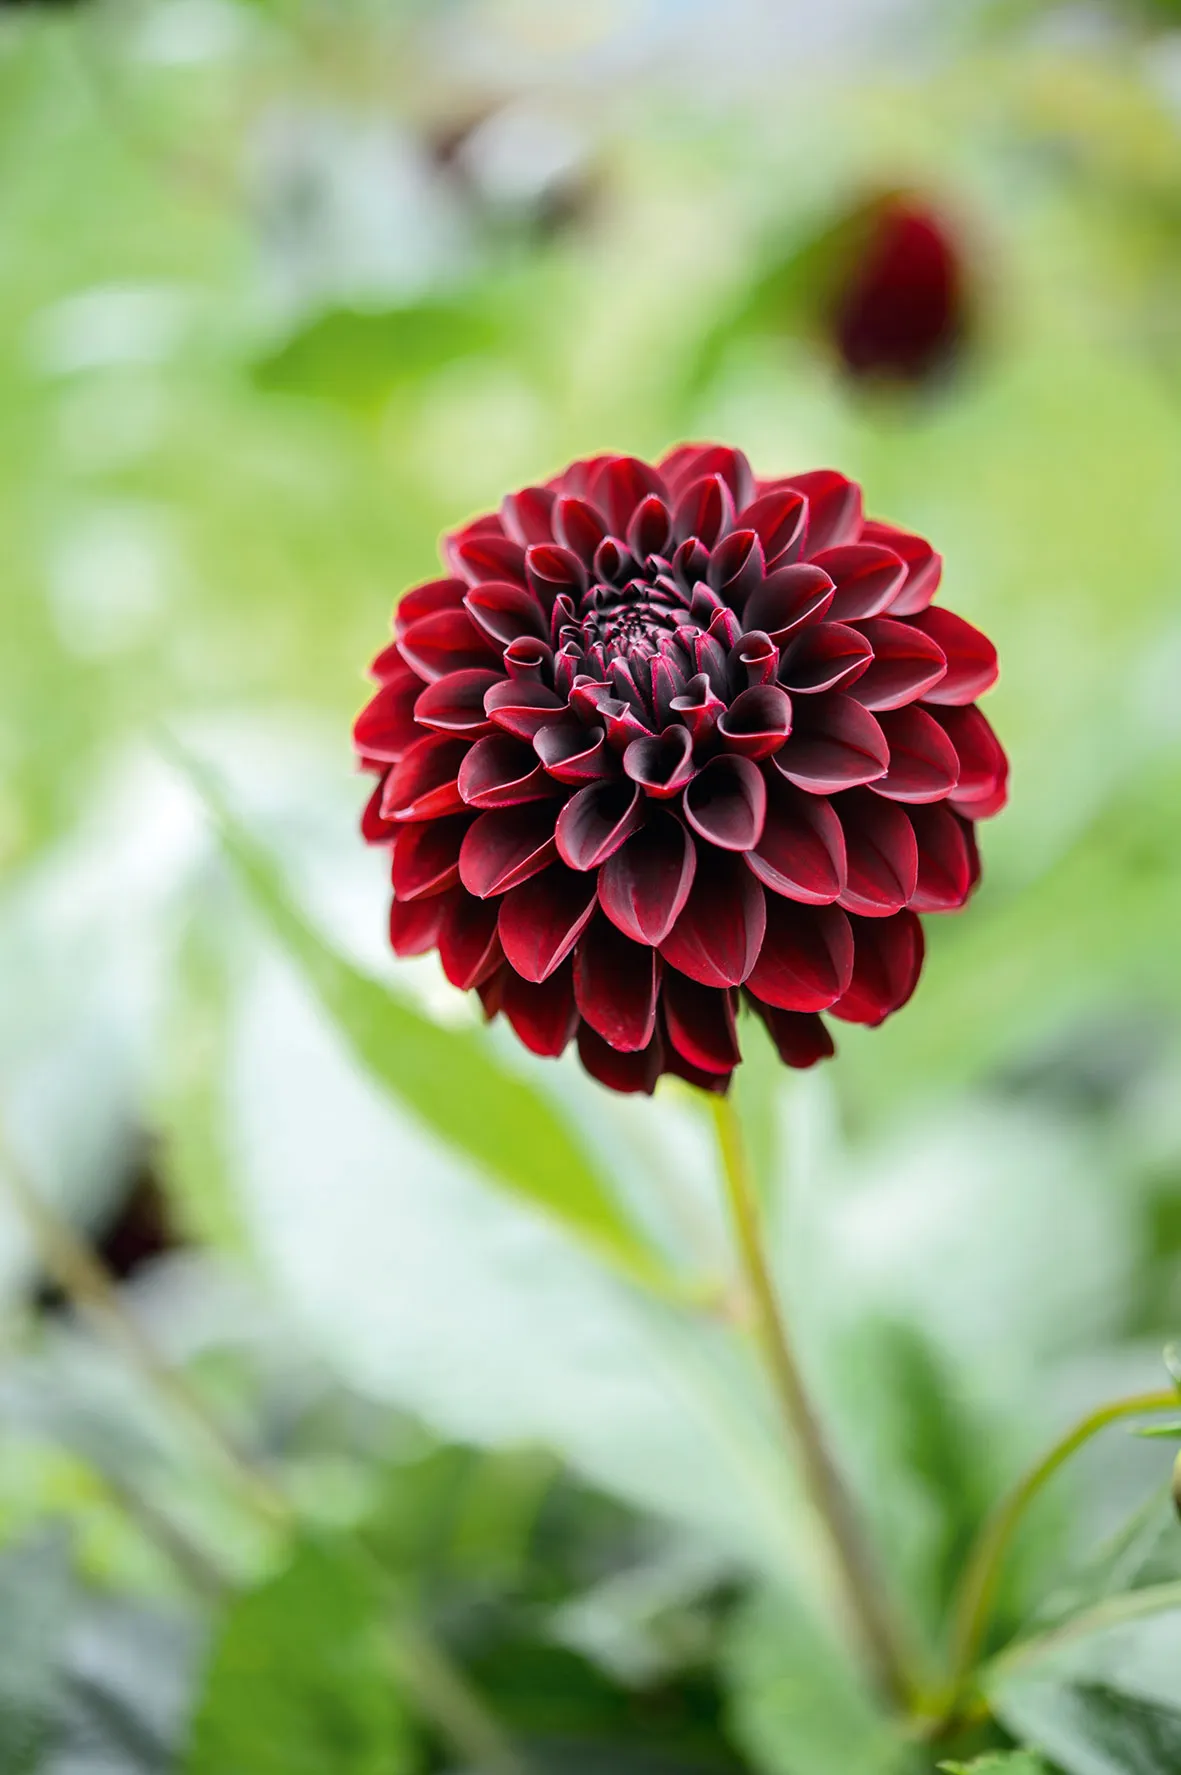
One of the best dark dahlias. All the dahlias I tried appeared to need no tending apart from liberal applications of (bird-friendly) slug pellets.
Feverfew Tanacetum parthenium
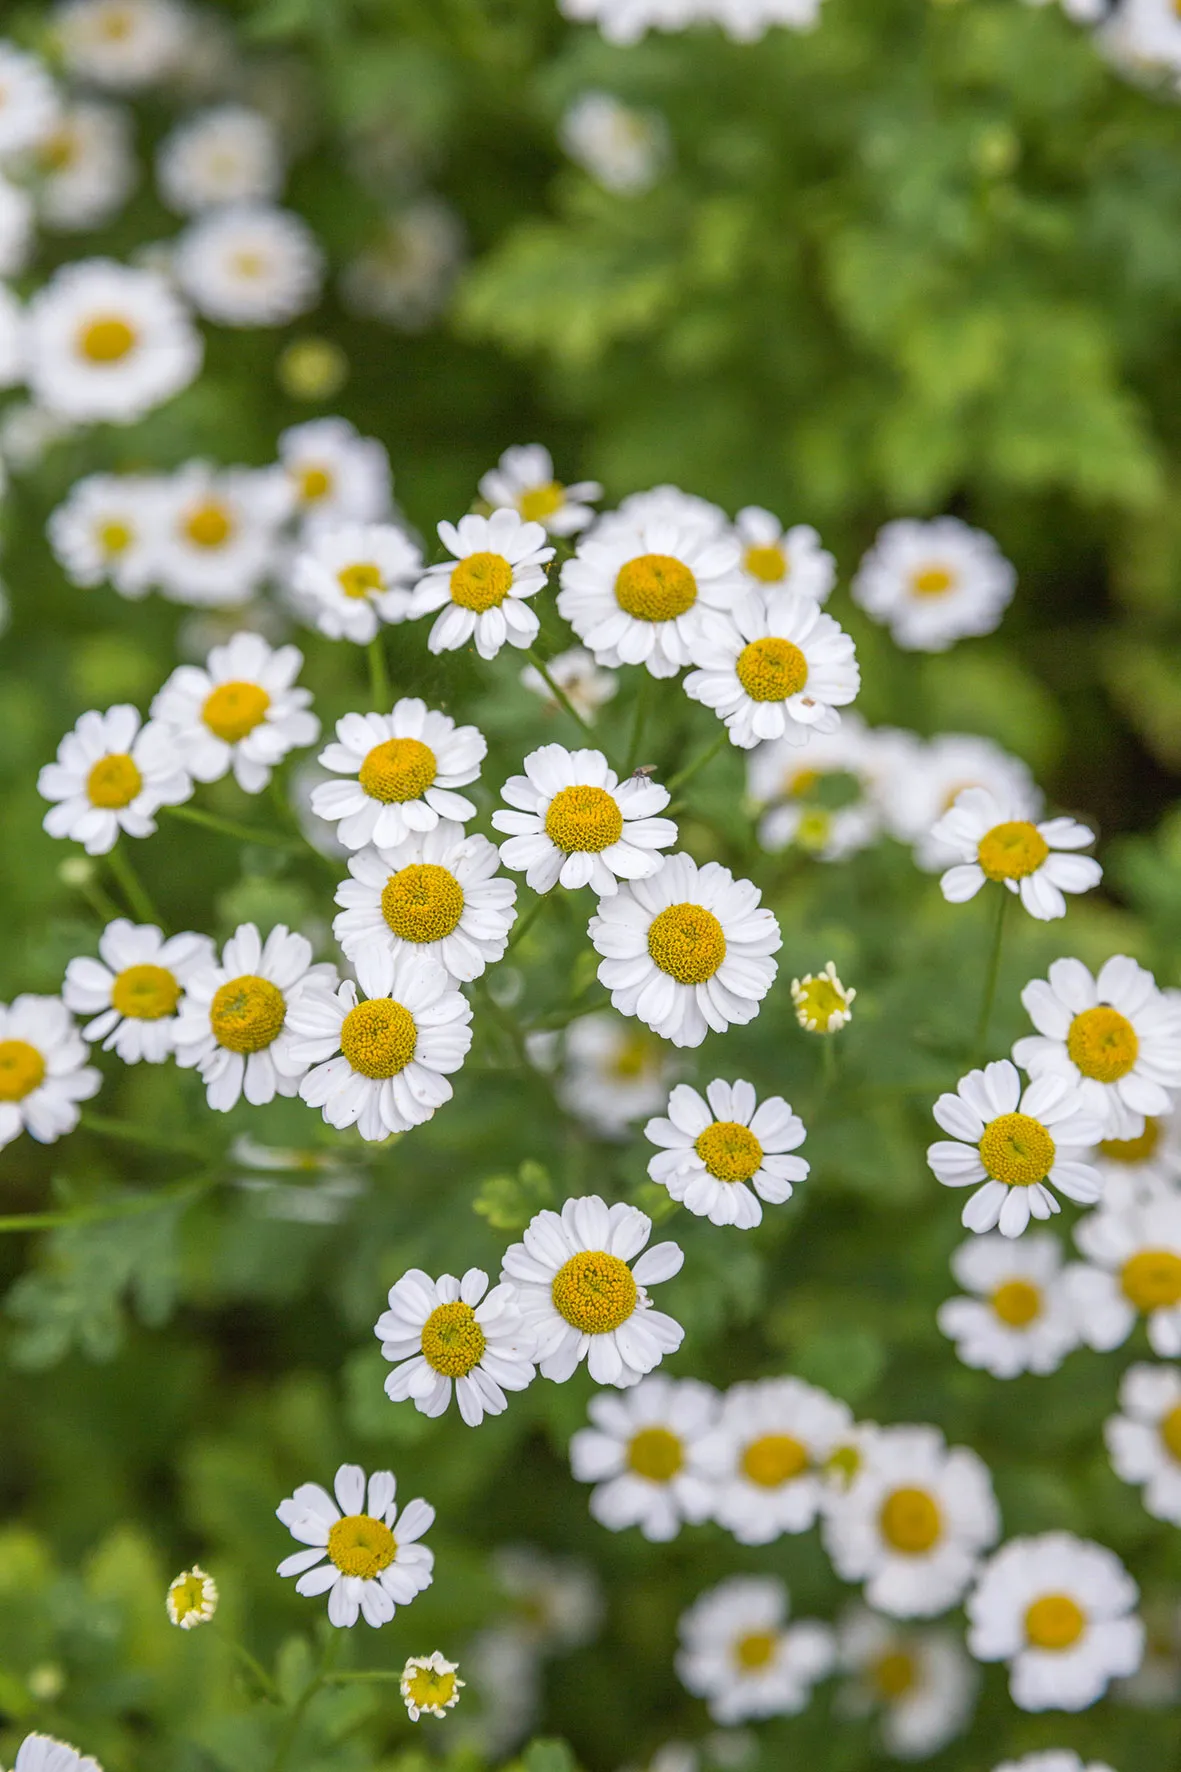
Tiny daisies that bring a lovely, relaxed feel of a country meadow to any arrangement.
Candytuft Beris umbellata ‘Crown’
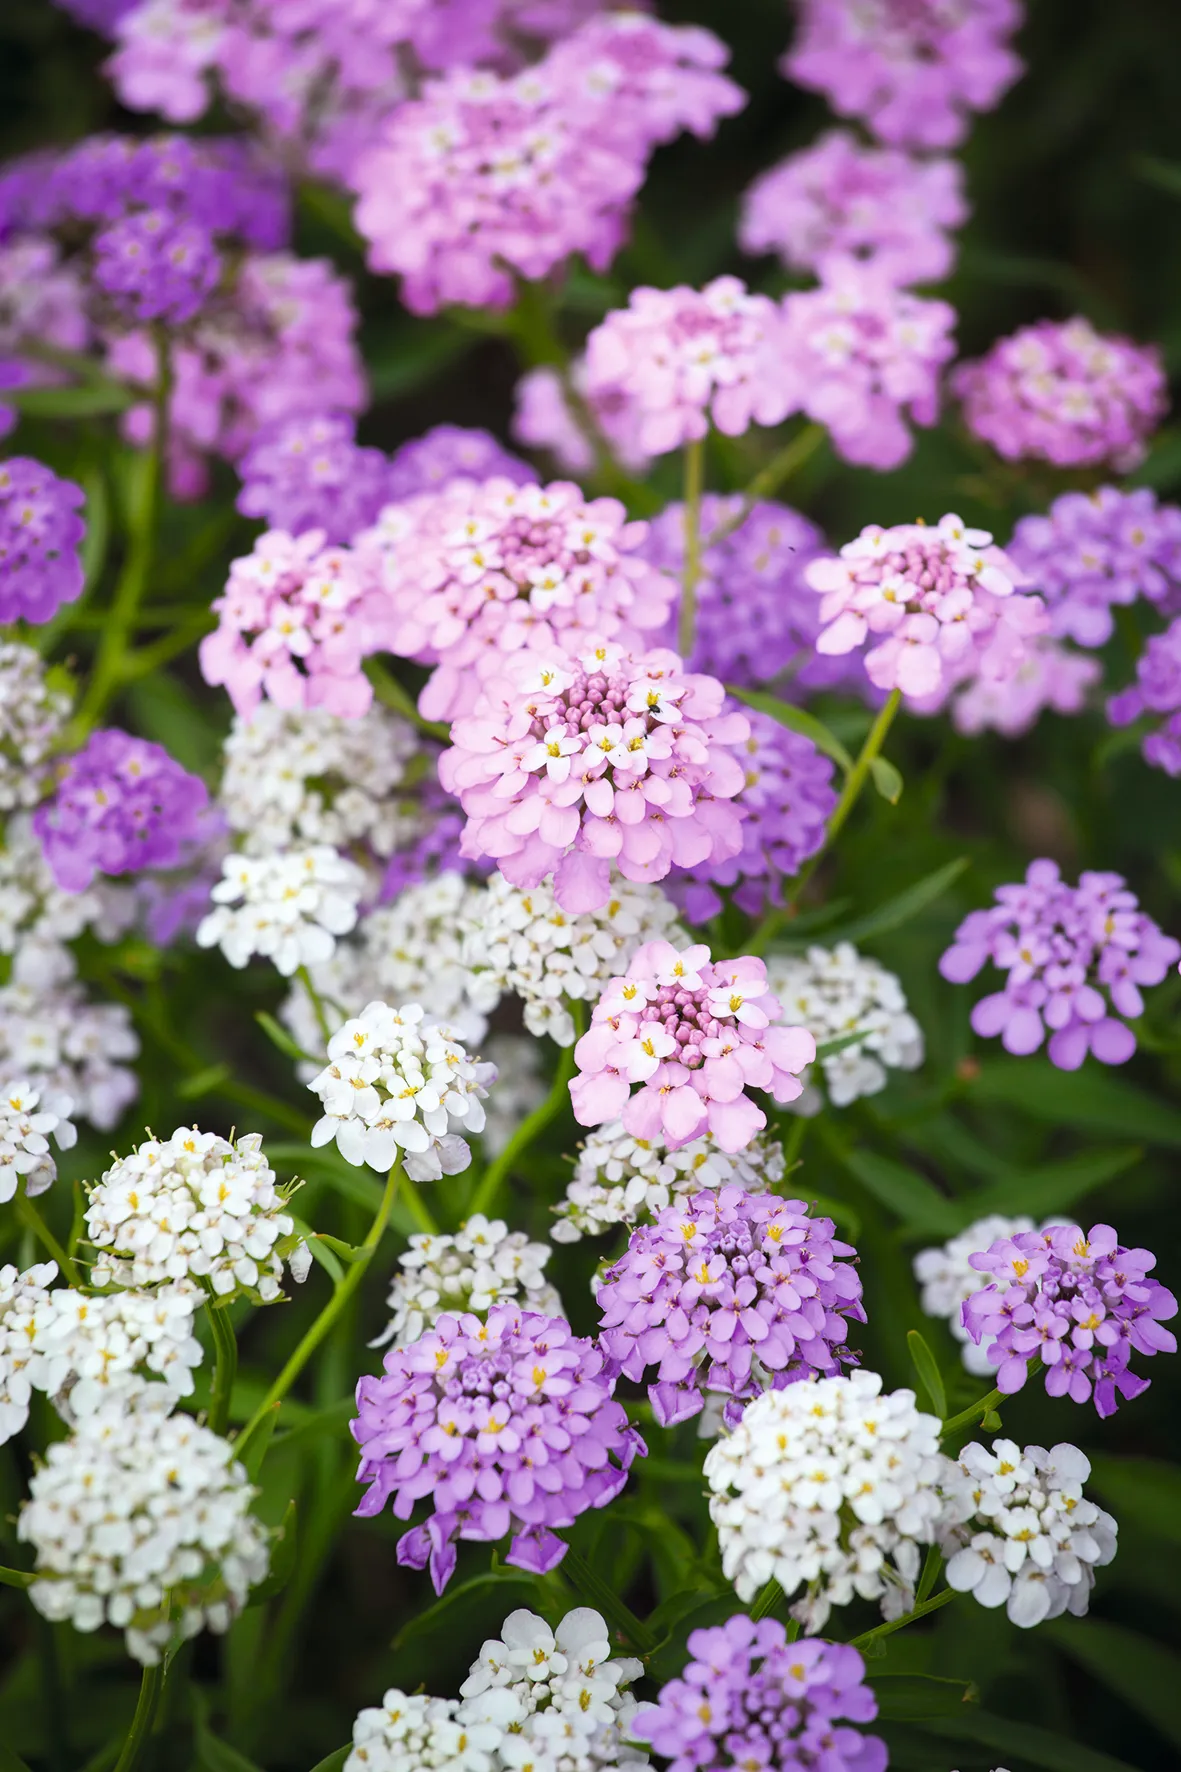
A sweet pink with a subtle scent, which produces lots of flowers if you keep cutting.
Sunflower Helianthus annuus ‘Harlequin Mixed’
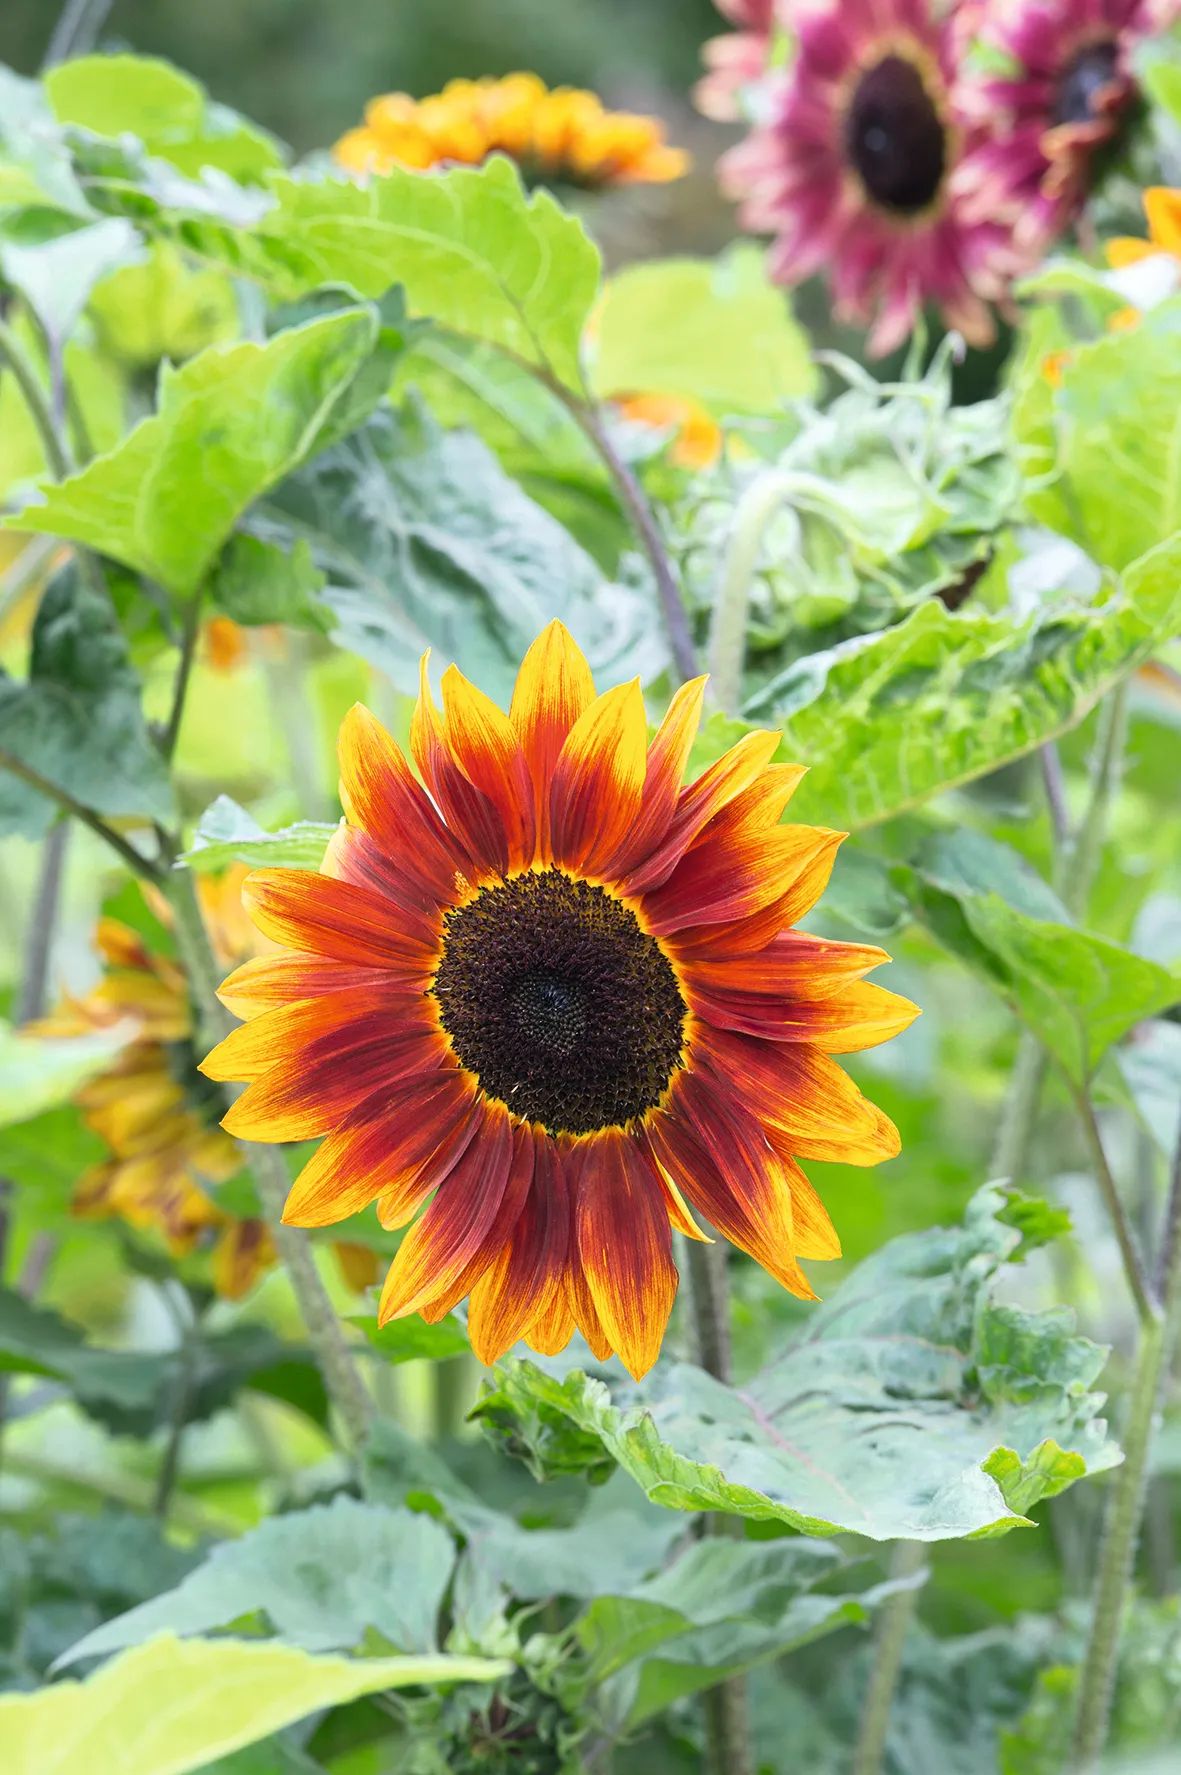
A spectacular sunflower that combines shades of burnt orange, pink and yellow.
Painted sage Salvia viridis ‘Blue’
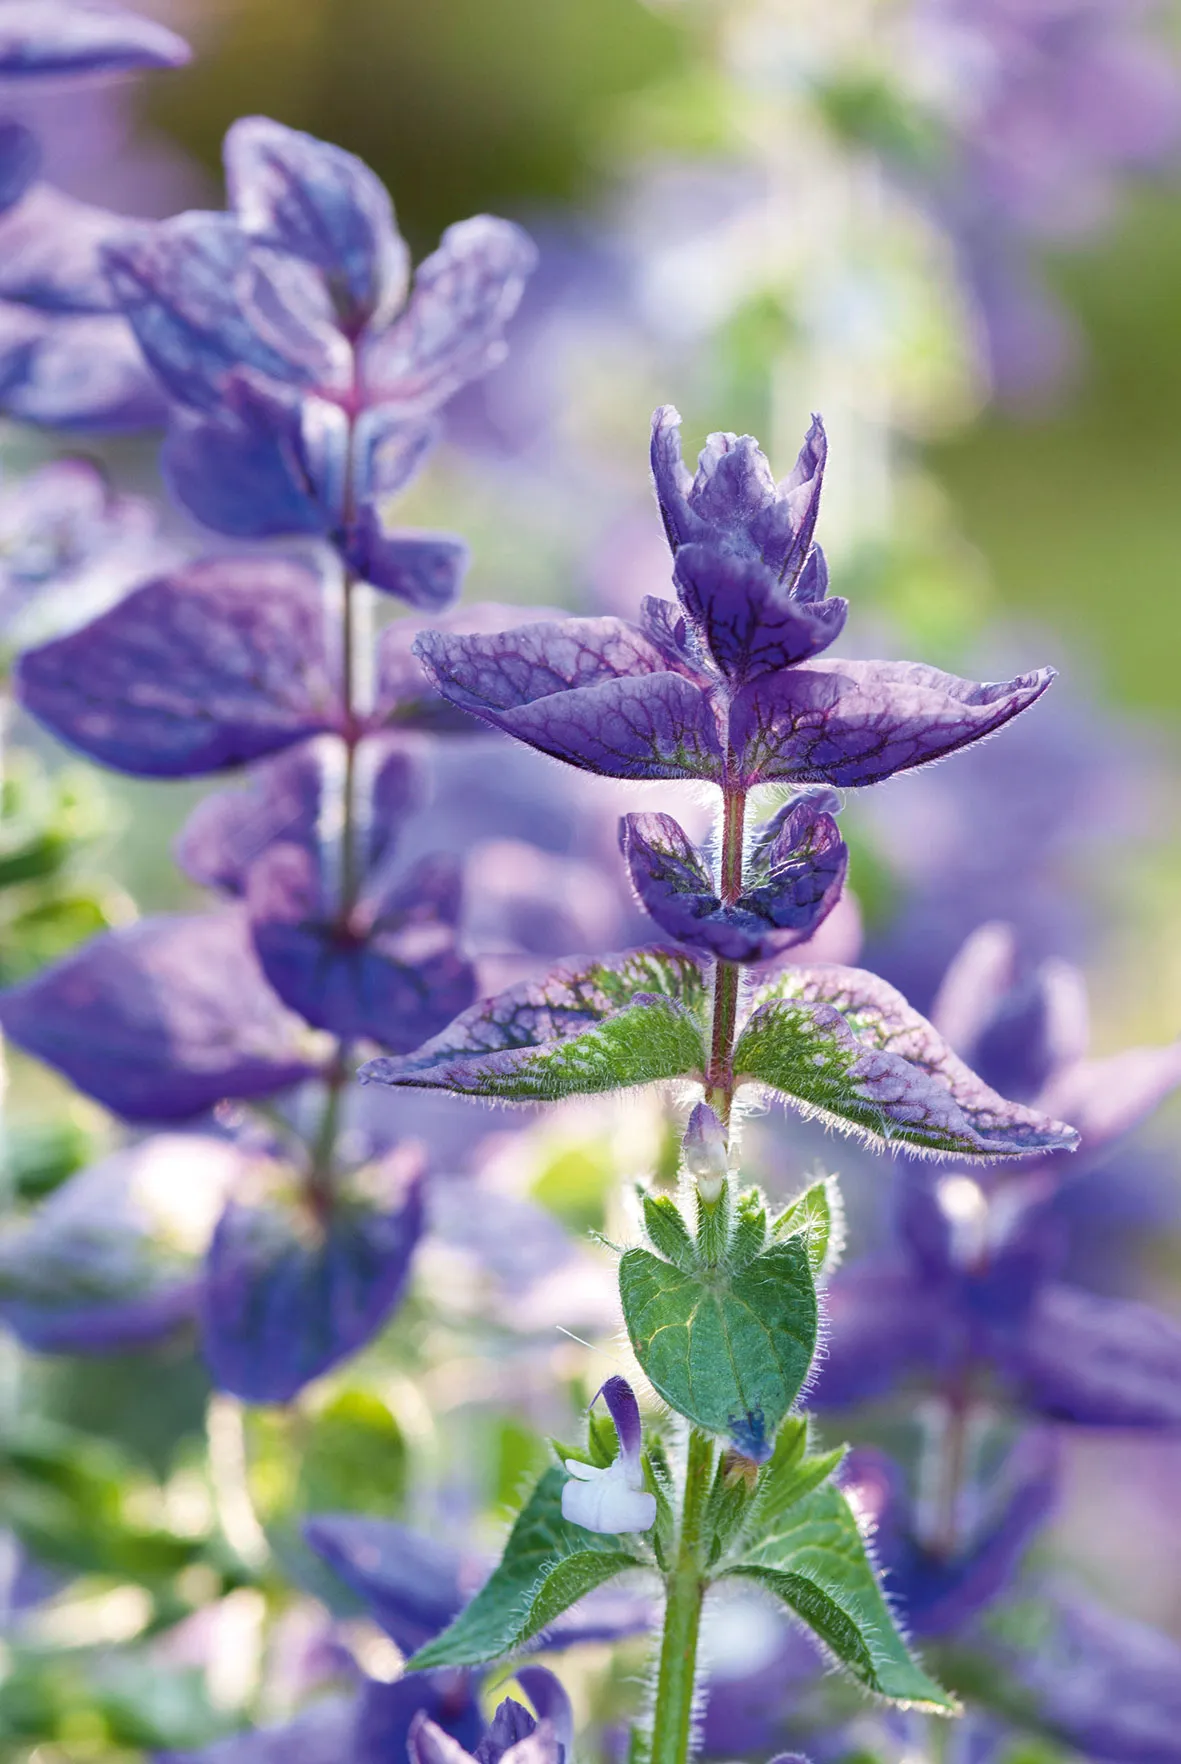
Great for repeat cutting and unusual because it’s the bracts (a specialised leaf) that are brightly coloured, rather than the petals.
All images: Jason Ingram, GAP Photos
