How to make cider: a simple recipe to try at home

The end of summer and the beginning of autumn are prime apple-picking season – make the most of it with this simple and revolutionary cider recipe.

Makes five gallons
Published: August 16, 2022 at 12:30 pm

If you have an apple tree your garden and have a glut of apples an easy way to use them up is to make your own delicious apple cider.

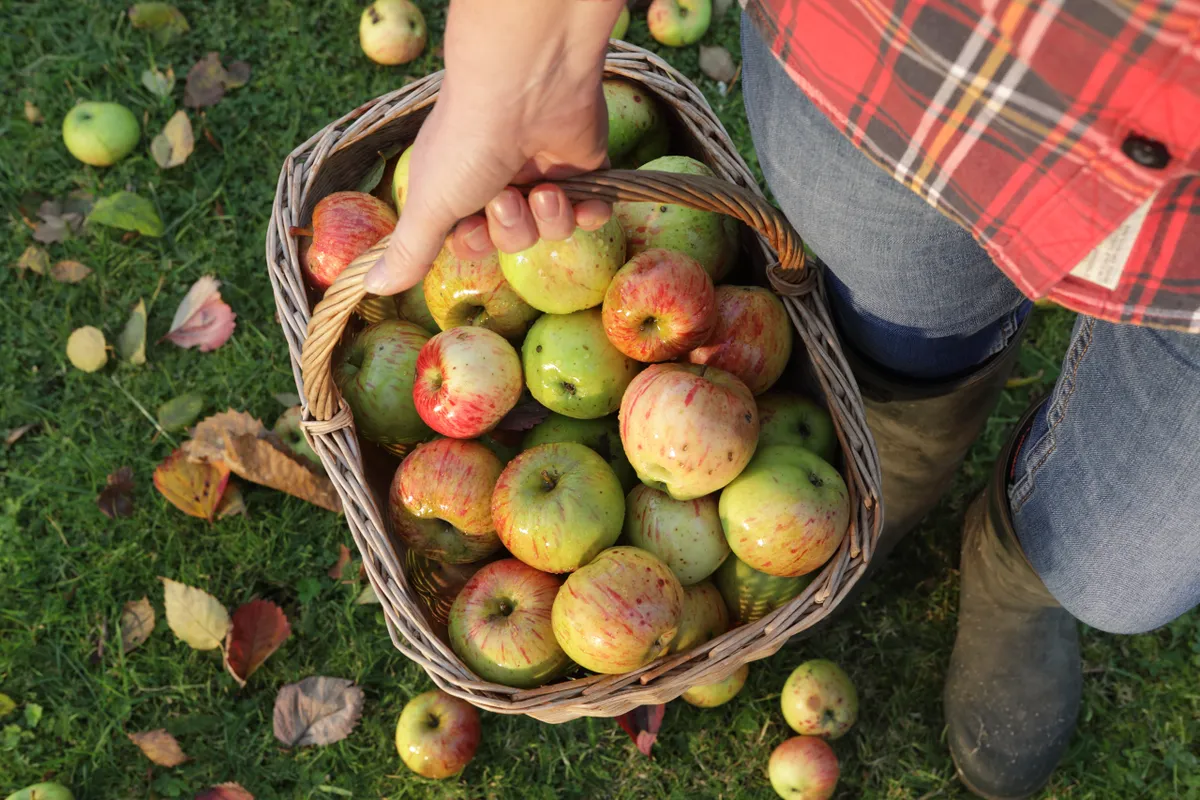
Britain has a large number of tasty apple varieties and while many are good to eat raw, some varieties can be bitter or sharp to eat. If you have a heavily laden apple tree these can fall from the tree to rot on the ground, although some can be a handy food source for wildlife.

Historical studies have suggested that apples could be found growing wild during the Neolithic period, however, it was the Victorians who changed apple production in Britain. You can learn more about the history of this everyday fruit in our apple guide.

The British apple season marks the start of autumn/Credit: Peter Cade, Getty Images

Instead of allowing apples to go to waste this autumn, why not turn your abundance of apples into a refreshing, fermented drink to enjoy? We also have lots of delicious apple recipes in our seasonal food section.

Making homemade cider is an easier process than you might expect and can be done at home using simple equipment.

With juice and strain, whole apples go in the juicer at one end and clear apple juice is drawn off at the other. It couldn’t be simpler and the whole process is relatively mess free.

Ingredients

  • 8kg (18lb) per gallon Apples I make 40kg (88lb) batches
  • 5g Champagne yeast
  • Campden tablets for sanitising
  • Sugar (optional, for making sparkling cider)
  • Whole fruit juicer (the greater the wattage, the better. Ensure it has an outlet that will attach to a hose)
  • 40cm (16in) long with 2.5cm (1in) internal diameter Food-safe plastic hose
  • Spring clamp
  • 60 x 60cm (24 x 24in) Fine straining bag
  • 5 gallon open-top brewing bucket with a tap at the bottom
  • 2 x 2 gallon Buckets
  • Hydrometer
  • Funnel
  • 5 gallon carboy or 5 x 1 gallon demijohns
  • Airlock(s) and rubber stopper(s)
  • 1 pint measuring jug
  • Rubber tubing for siphoning
  • Siphon tap (optional, but helpful for pausing the flow between bottles)
  • Serving tray (or any tray with a rim)
  • Beer bottles (recycling boxes are full of them!)
  • Crown-style bottle caps
  • Hand-operated bottle capper

Method

  • Step 1

    Before you start, drill 30 small holes in the bottom of the straining bucket. It should be the same diameter as, or slighter larger at the rim than your brewing bucket, so that it can slot into the brewing bucket leaving plenty of room for the juice to flow through.


  • Step 2

    Pick and clean your apples

    Check for ripeness by cupping each one in your hand and twisting gently. If it comes away easily, then it’s ripe. A good indicator of ripeness is if a number of apples have already fallen. Do not use bruised, windfall apples for making juice. Discard any that show signs of rot. PLEASE NOTE: If you’re using the juicer outdoors, it is essential that you use electrical safety trips. Also, the juicing machine must not come into contact with rain or indeed any water.
    How to make cider
    Step 1 - pick your apples (Photo by: Getty Images)

  • Step 3

    Clean your kit

    Wash your hands and sterilise all the equipment that will be in contact with the fresh apple juice. I use a solution of four Campden tablets per gallon of water to soak all the parts and buckets for a couple of hours before use. You can also buy sterilizing powder from home brewing suppliers and high street stores such as Wilkinson.
    How to make cider
    Step 2 - It's important to sterilise the equipment properly (Photo by: Philip Hartley)

  • Step 4

    Set up your juicer and strainer

    Rinse off then assemble the juicer parts. Attach the hose to the juicer’s spout using the spring clip and feed it into the straining bag, then place the bag in the straining bucket (with holes). Place the straining bucket in the open brewing bucket. Set up your straining and brewing buckets on a stool or box so you can fit your demijohn underneath the tap.
    How to make cider
    Step 3 - Prepare the juicer and strainer (Photo by: Philip Hartley)

  • Step 5

    Juice and strain

    Feed your apples into the juicer. When the pulp container fills up, empty it and discard the pulp. After every 12kg (26lb) or so of fruit, dismantle the juicer and clean the pulp off the mesh. The juicing part takes no time, but the straining needs a while to run its course. I obtain the last five percent of the expected 65 percent by weight of juice by wringing out the straining bag. Do not allow the pulp into your fermentation as it will taint the cider.
    How to make cider
    Step 4 - Now for the fun part: juicing and straining (Photo by: Philip Hartley)

  • Step 6

    Pitch the yeast

    While the last juice is draining, pitch the yeast into a measuring jug containing fresh, clear apple juice held at room temperature. This will allow the dried yeast to rehydrate and kick-start the fermentation. A 5g packet is enough for 5 gallons of juice. After half an hour, stir the jug to disperse the yeast thoroughly, then pour it into your demijohns. Fill these up nearly to the top with apple juice and attach the airlocks. Bubbles should appear in the airlock in about an hour.
    How to make cider
    Step 5 - Add the yeast (Photo by: Philip Hartley)

  • Step 7

    Ferment

    Keep fermentation vessel(s) in a warm place (15-20°C) – after 3-4 weeks you should have a clear cider. Check it with a hydrometer . The reading needs to be one or less. If higher, keep fermenting. When the cider is finished, and knowing the original gravity of the starting apple juice, measure the final gravity and read the alcohol content from an alcohol by volume (ABV) chart. 5% ABV is the target minimum.
    How to make cider
    Step 6 - Pour and ferment (Photo by: Philip Hartley)

  • Step 8

    Bottle your brew

    Siphon your cider into sterilised beer bottles that will take a crown cap (or a swing-top cap, shown above). If you want a still, hard cider, just bottle what you’ve got as it is. If you want a sparkling cider, then add a half a teaspoon of white sugar to a pint bottle, then fill it with your cider and cap. After a few more weeks, a secondary fermentation should be complete and you’ll have some fizz.
    How to make cider
    Step 7 - Bottle it up (Photo by: Philip Hartley)

  • Step 9

    Enjoy your cider!

    Your cider is drinkable once it has cleared. However, leaving your brew to age in a cool outhouse, garage or shed over the winter will improve it. Ideally, you should aim to be drinking last year’s cider as you’re making this year’s batch. Serve your cider chilled and take care when opening, particularly if you’ve overdone the priming sugar. You can adjust the sweetness when serving by adding sugar cane syrup.
    How to make your own cider
    Step 8 - enjoy (Photo by: Getty Images)

This website is owned and published by Our Media Ltd. www.ourmedia.co.uk
© Our Media 2024