Bushcraft expert and nature educator Felix Immler demonstrates how to make easy outdoor tools and crafts in his new book The Swiss Army Knife Book: 63 Outdoor Projects. Here are three ideas taken from the book to try youself.
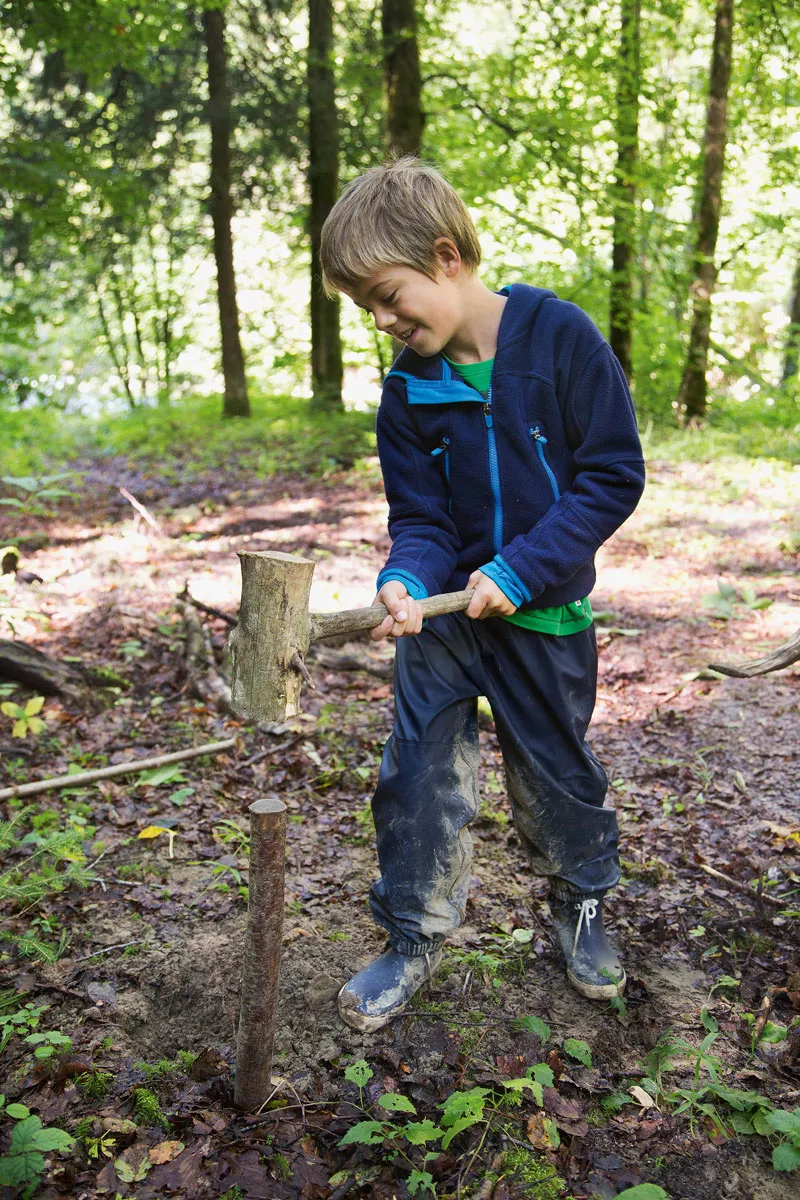
1. Make a wooden mallet
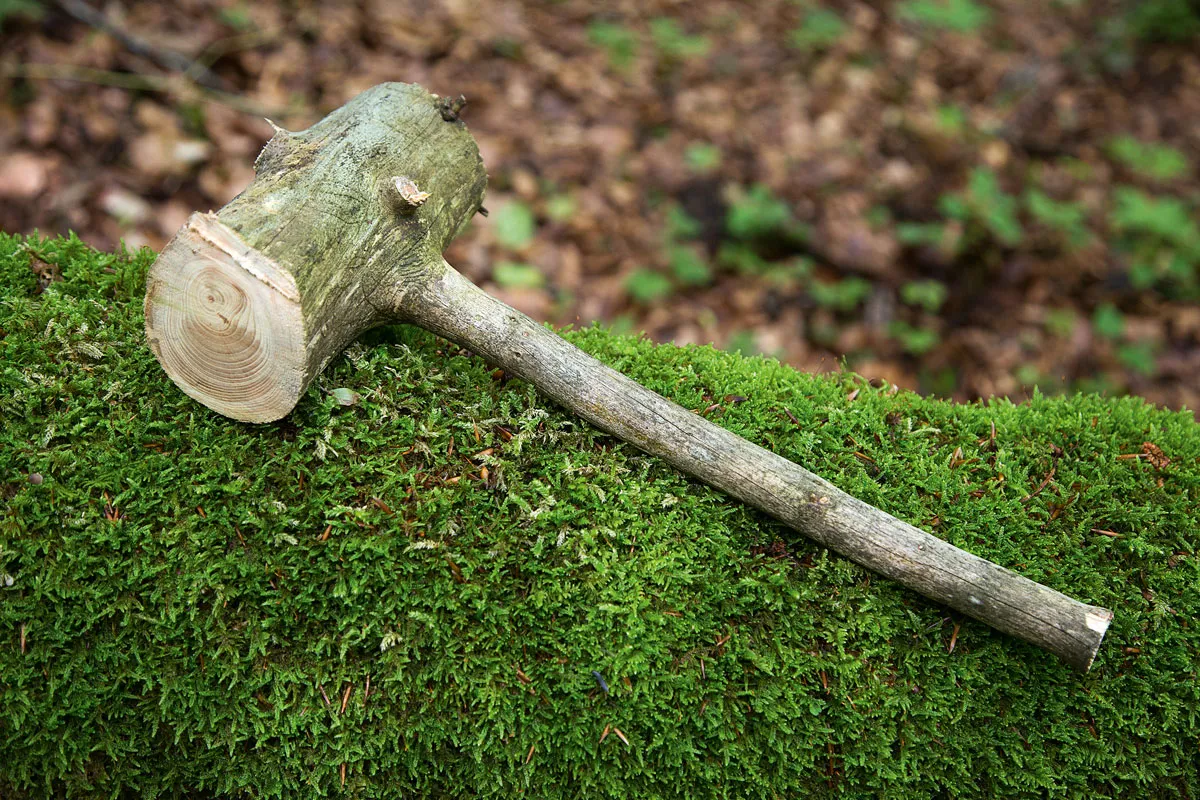
Anyone looking to set up a camp or fixed shelter in the forest is bound to and themselves in a situation where they will need a hammer or something that will function as one. A mallet is hugely useful for striking things, for instance hammering poles or tent pegs into the ground, driving a splitting wedge into a branch or using a digging stick to extract clay. Of course, you could simply use a sufficiently thick, sturdy piece of tree trunk or a branch in place of a mallet. However, a real mallet, with a handle and a head, can be gripped more easily, so if you’re going to be using it regularly, it is preferable to a crude stick.
Cut a suitable piece of tree trunk out of a dead or fallen tree – look for a section that has a side branch coming out of it at right angles.
In order to ensure that the head of the hammer is bulky enough, the log should have a diameter of around 8 cm (3 in), while the side branch should have a diameter of at least 3 cm (11⁄4 in), so that the handle is hardy and robust. You can cut up the hitting surfaces a little using your penknife – this gives the mallet greater longevity, as it makes the edges more resilient.
2. Make charcoal sticks
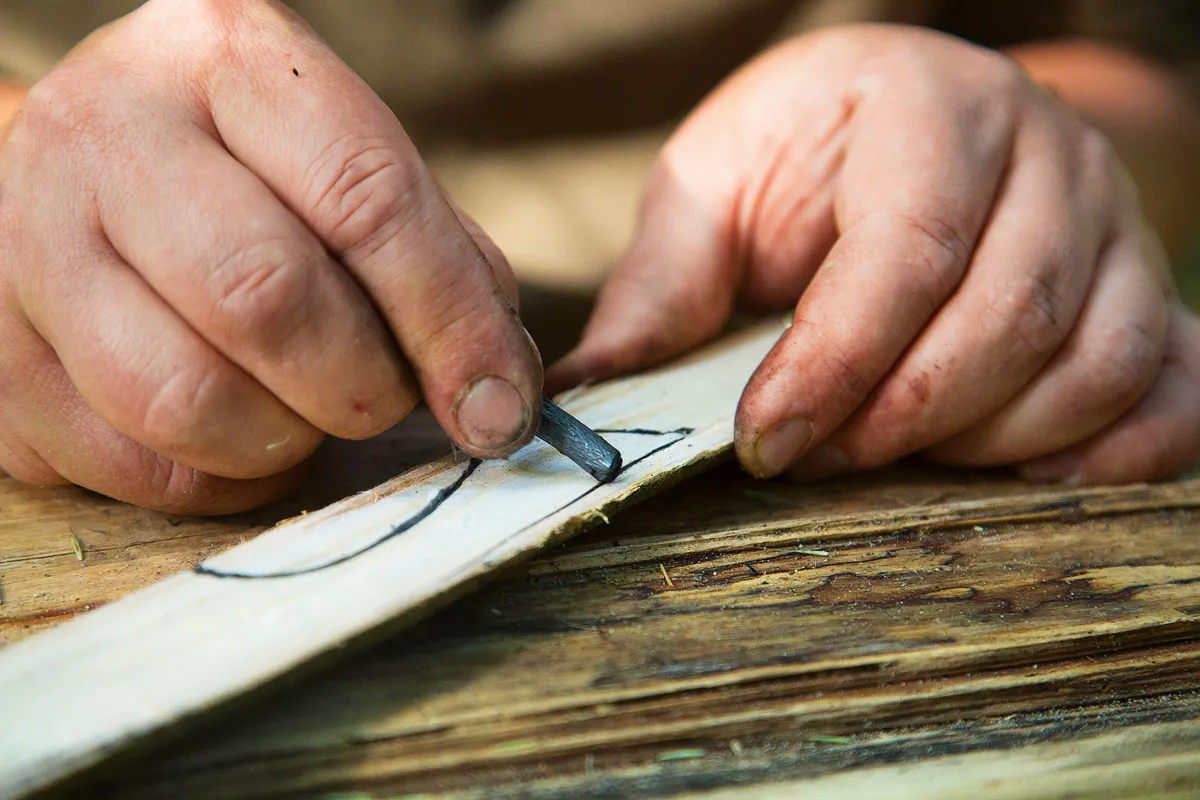
People have drawn with charred wood since ancient times, as we know from countless cave drawings. Drawing large pictures on stone or wood with homemade charcoal sticks is a special experience for old and young alike.
To make charcoal sticks you need an airtight, sealable metal tin or jam jar and sand or clay. Ideally you should use 1–1.5 cm-thick
(1⁄2 in), straight pieces of freshly cut wood. For my first attempts I always used willow or hazel, but other types of wood will work just as well for making charcoal sticks.
Just as you would if you were burning charcoal on your barbecue, the branches are heated without an air supply, so that the volatile parts of the wood burn. What is left is the charcoal.
You simply need an empty tin can without a lid . Cut willow branches to the right length for them to rest into the tin. Cover the sticks with sand and press the sand down gently. Leave the tin in the fire for at least an hour. After the time is up, take out the tin and let the sand cool off. Check whether the sticks are completely charred . If they still have brown bits, they aren’t charred enough, so cover the sticks up with sand again and put the tin back in the fire. If you’re using a jar with a lid, it will take only half an hour in the fire, because sand needs longer than air to heat up. Alternatively, the branches for charring could be packed around with clay, but when the clay breaks down there is the risk that the sticks will also break.
Charcoal sticks are also handy for sketching contours before carving something. Now there’s no excuse for you not to flaunt your artistic side in the great outdoors!
3. How to make a water-powered spit
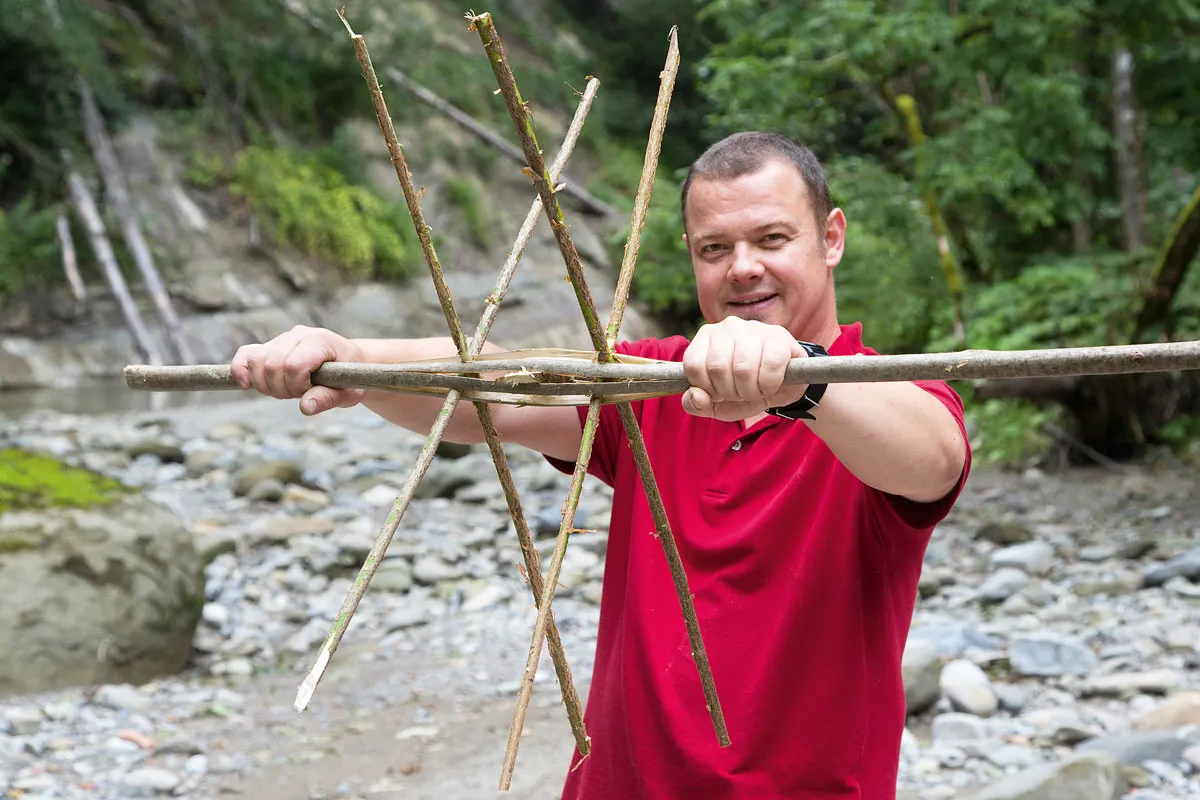
To make a water wheel you need two forked branches as supports, a straight branch with a diameter of 2–3 cm (1 in) as the axis (e.g. hazel), six straight sticks as the spokes (e.g. hazel or dogwood), and six thin wooden boards.
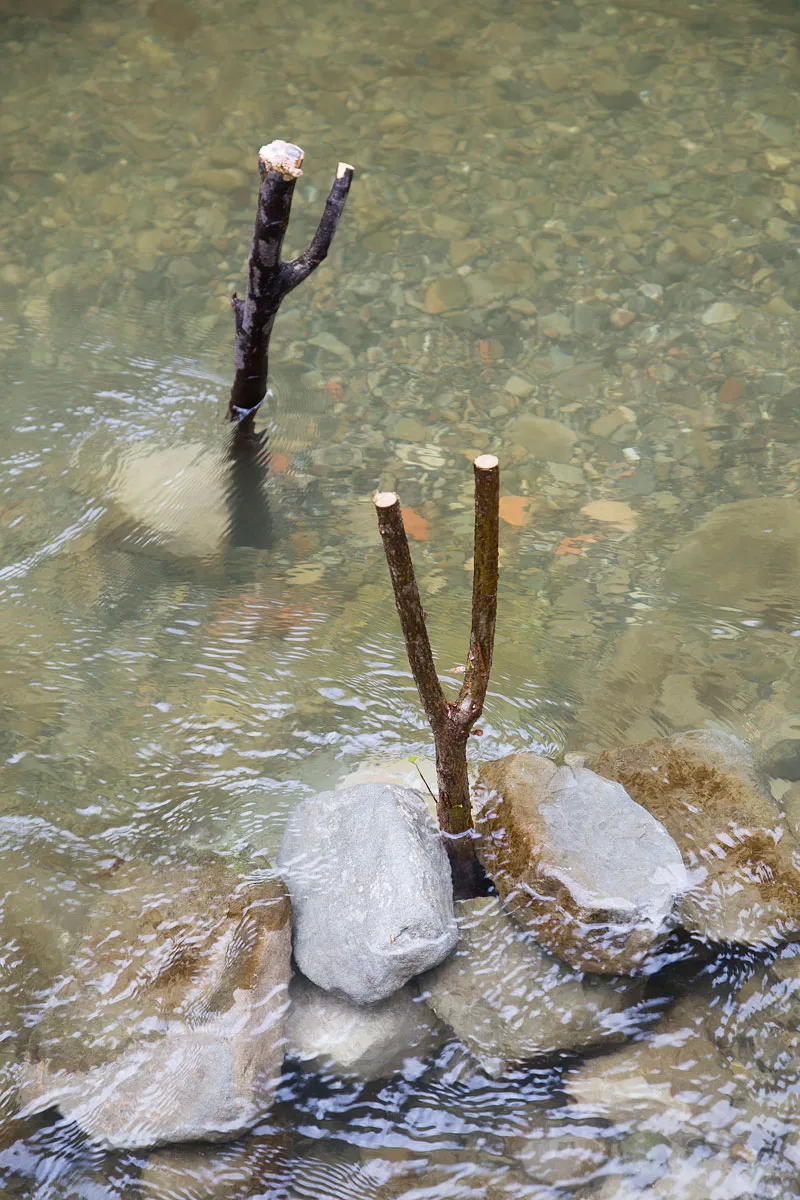
The two forked branches are placed either on the bank or directly within the stream, which must be sufficiently deep and fast-flowing. If you’re unable to plunge the branches deep enough into the streambed, layer stones around the bottom to keep them in place.
Split the middle 25–30 cm (10–12 in) of the axis lengthways. To do this, place your blade against the middle of the stick and drive it into the wood, beating the back edge of the blade with a log until the tip of the blade pokes through the other side. Then stand the axis up and expand the split by hitting the end of the blade carefully. While keeping the blade inside the split, carefully rotate it 90 degrees so that it stands up clamped between the surfaces of the split. Insert a stick into the resulting split . Make a second and third split at a 60-degree angle to the rst split in the same way . The clamped stick will act as a guide for you to get the splits at a 60-degree angle to one another. The spokes are now inserted into the three splits, placed around 20 cm apart . Prior to slotting them into the split, shorten them to the right length. You can nd this by placing the axis on the forked branches and measuring the distance from the axis to the water. To increase the effect of the clamped stick, lash the split axis between the spokes together with a length of twine. Use thin strips of wood – the kind that you find in snapped near trees – to make six thin paddles, ideally of the same size.
The Swiss Army Knife Book: 63 Outdoor Projects by Felix Immler is published by Frances Lincoln at £14.99, available now https://www.quartoknows.com/books/9780711238893/The-Swiss-Army-Knife-Book.html
Photography © Matthew Worden, AT Verlag / www.at-verlag.ch
